How to Retouch Jewellery for Luxurious Editorial look
The most challenging yet fun part about jewellery photography is the art of conveying the true beauty of the jewels that we shoot in a captured shot. It is not just about clicking a good image but adding the right feel and emotion that communicates the thought behind the design and the designer's inspiration.
Rohan Joshi
Published at: Mar 17, 2022 5:55 PM
Editors: Shreya Joshi
At Febnik, we serve Jewellery businesses with our Jewellery Photography and Retouching Services that wish for their art to be captured with perfection & reach large masses.
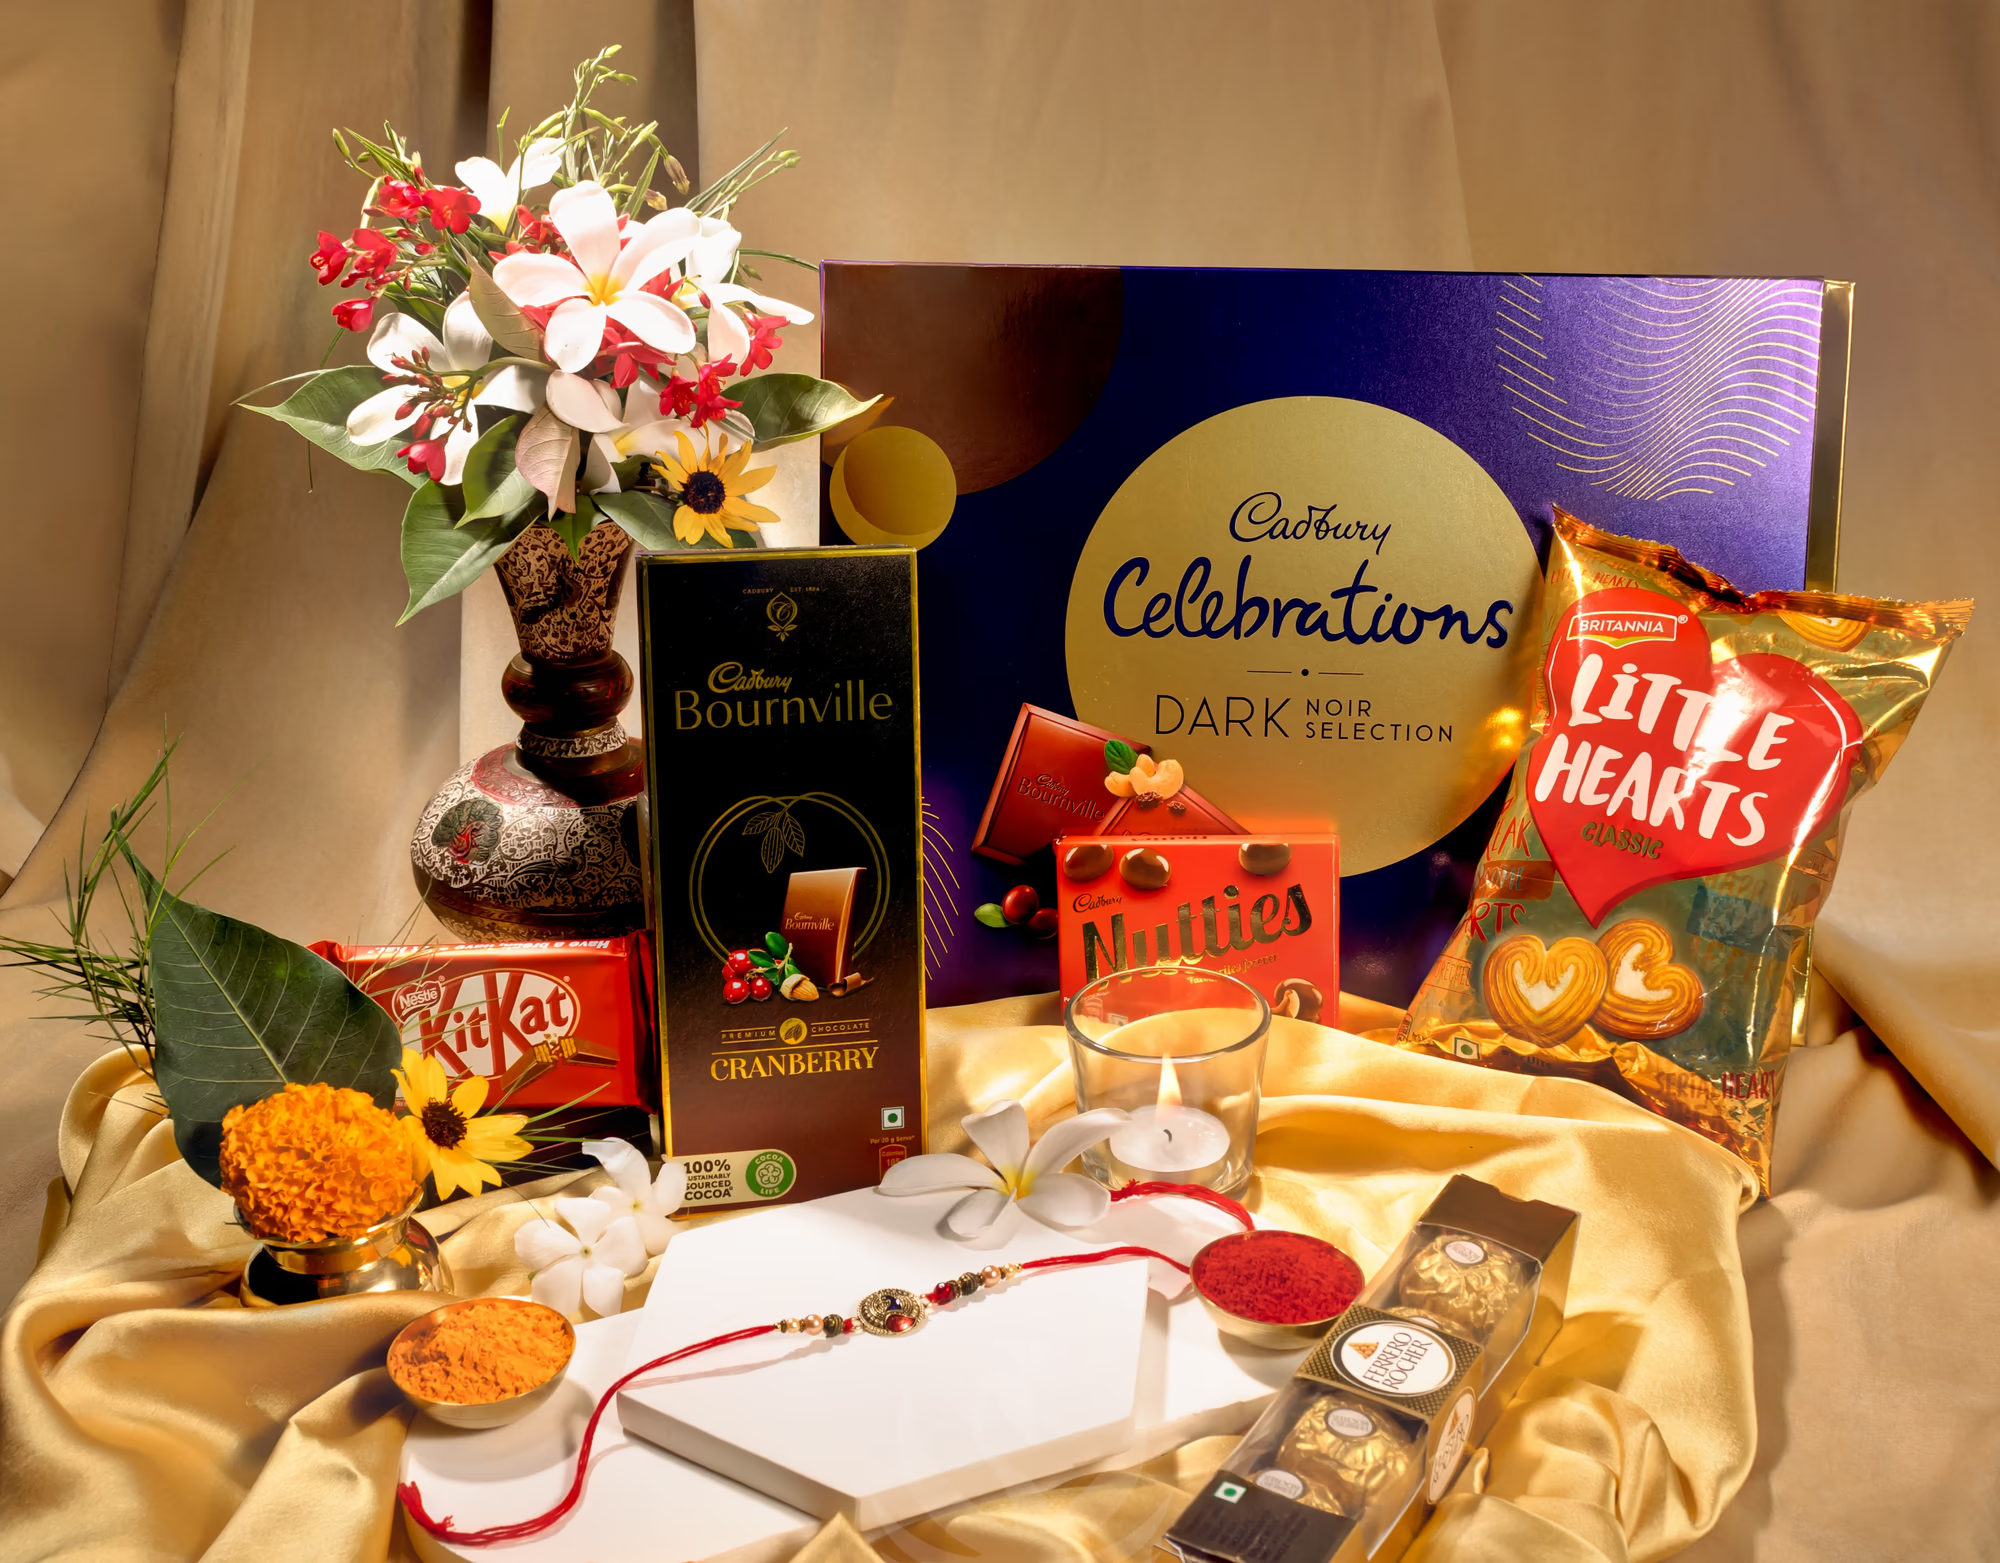
Recently, for one such client, we did an Editorial Jewellery Shoot. With their kind permission, today we share & discuss the undergone process with you
That goes as follows:
Capturing jewellery can be a taxing job. To capture & translate the true essence of the jewel successfully, a strong understanding of the client requirements & coordination between photographer and retoucher is crucial.
After relevant planning with our creative team, we began the shoot with a clear plan about editing requirements in the post. This approach helped us save time and produce quality images at the end.
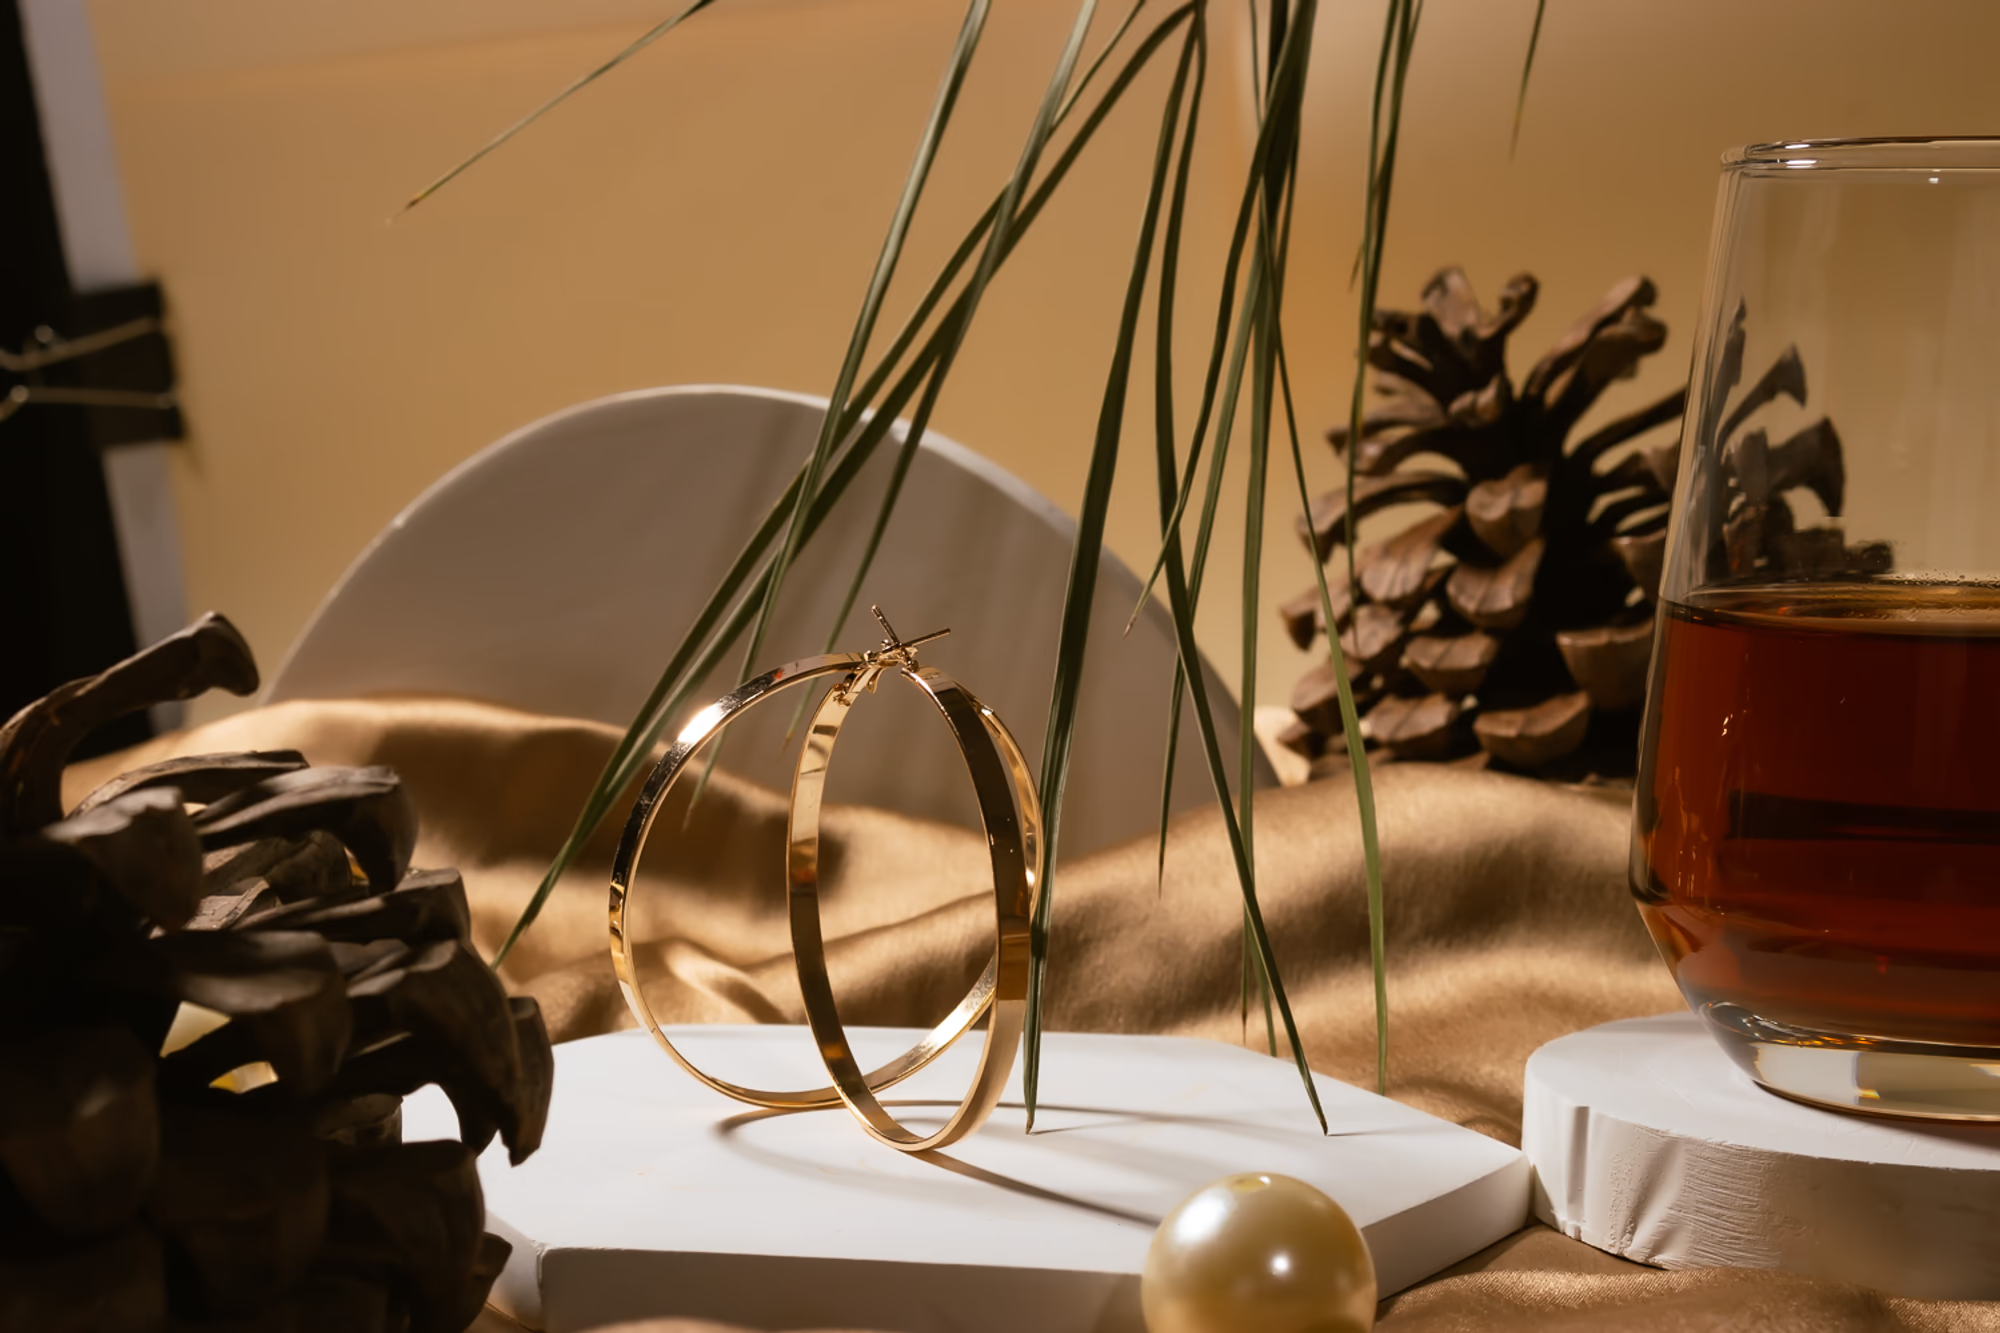
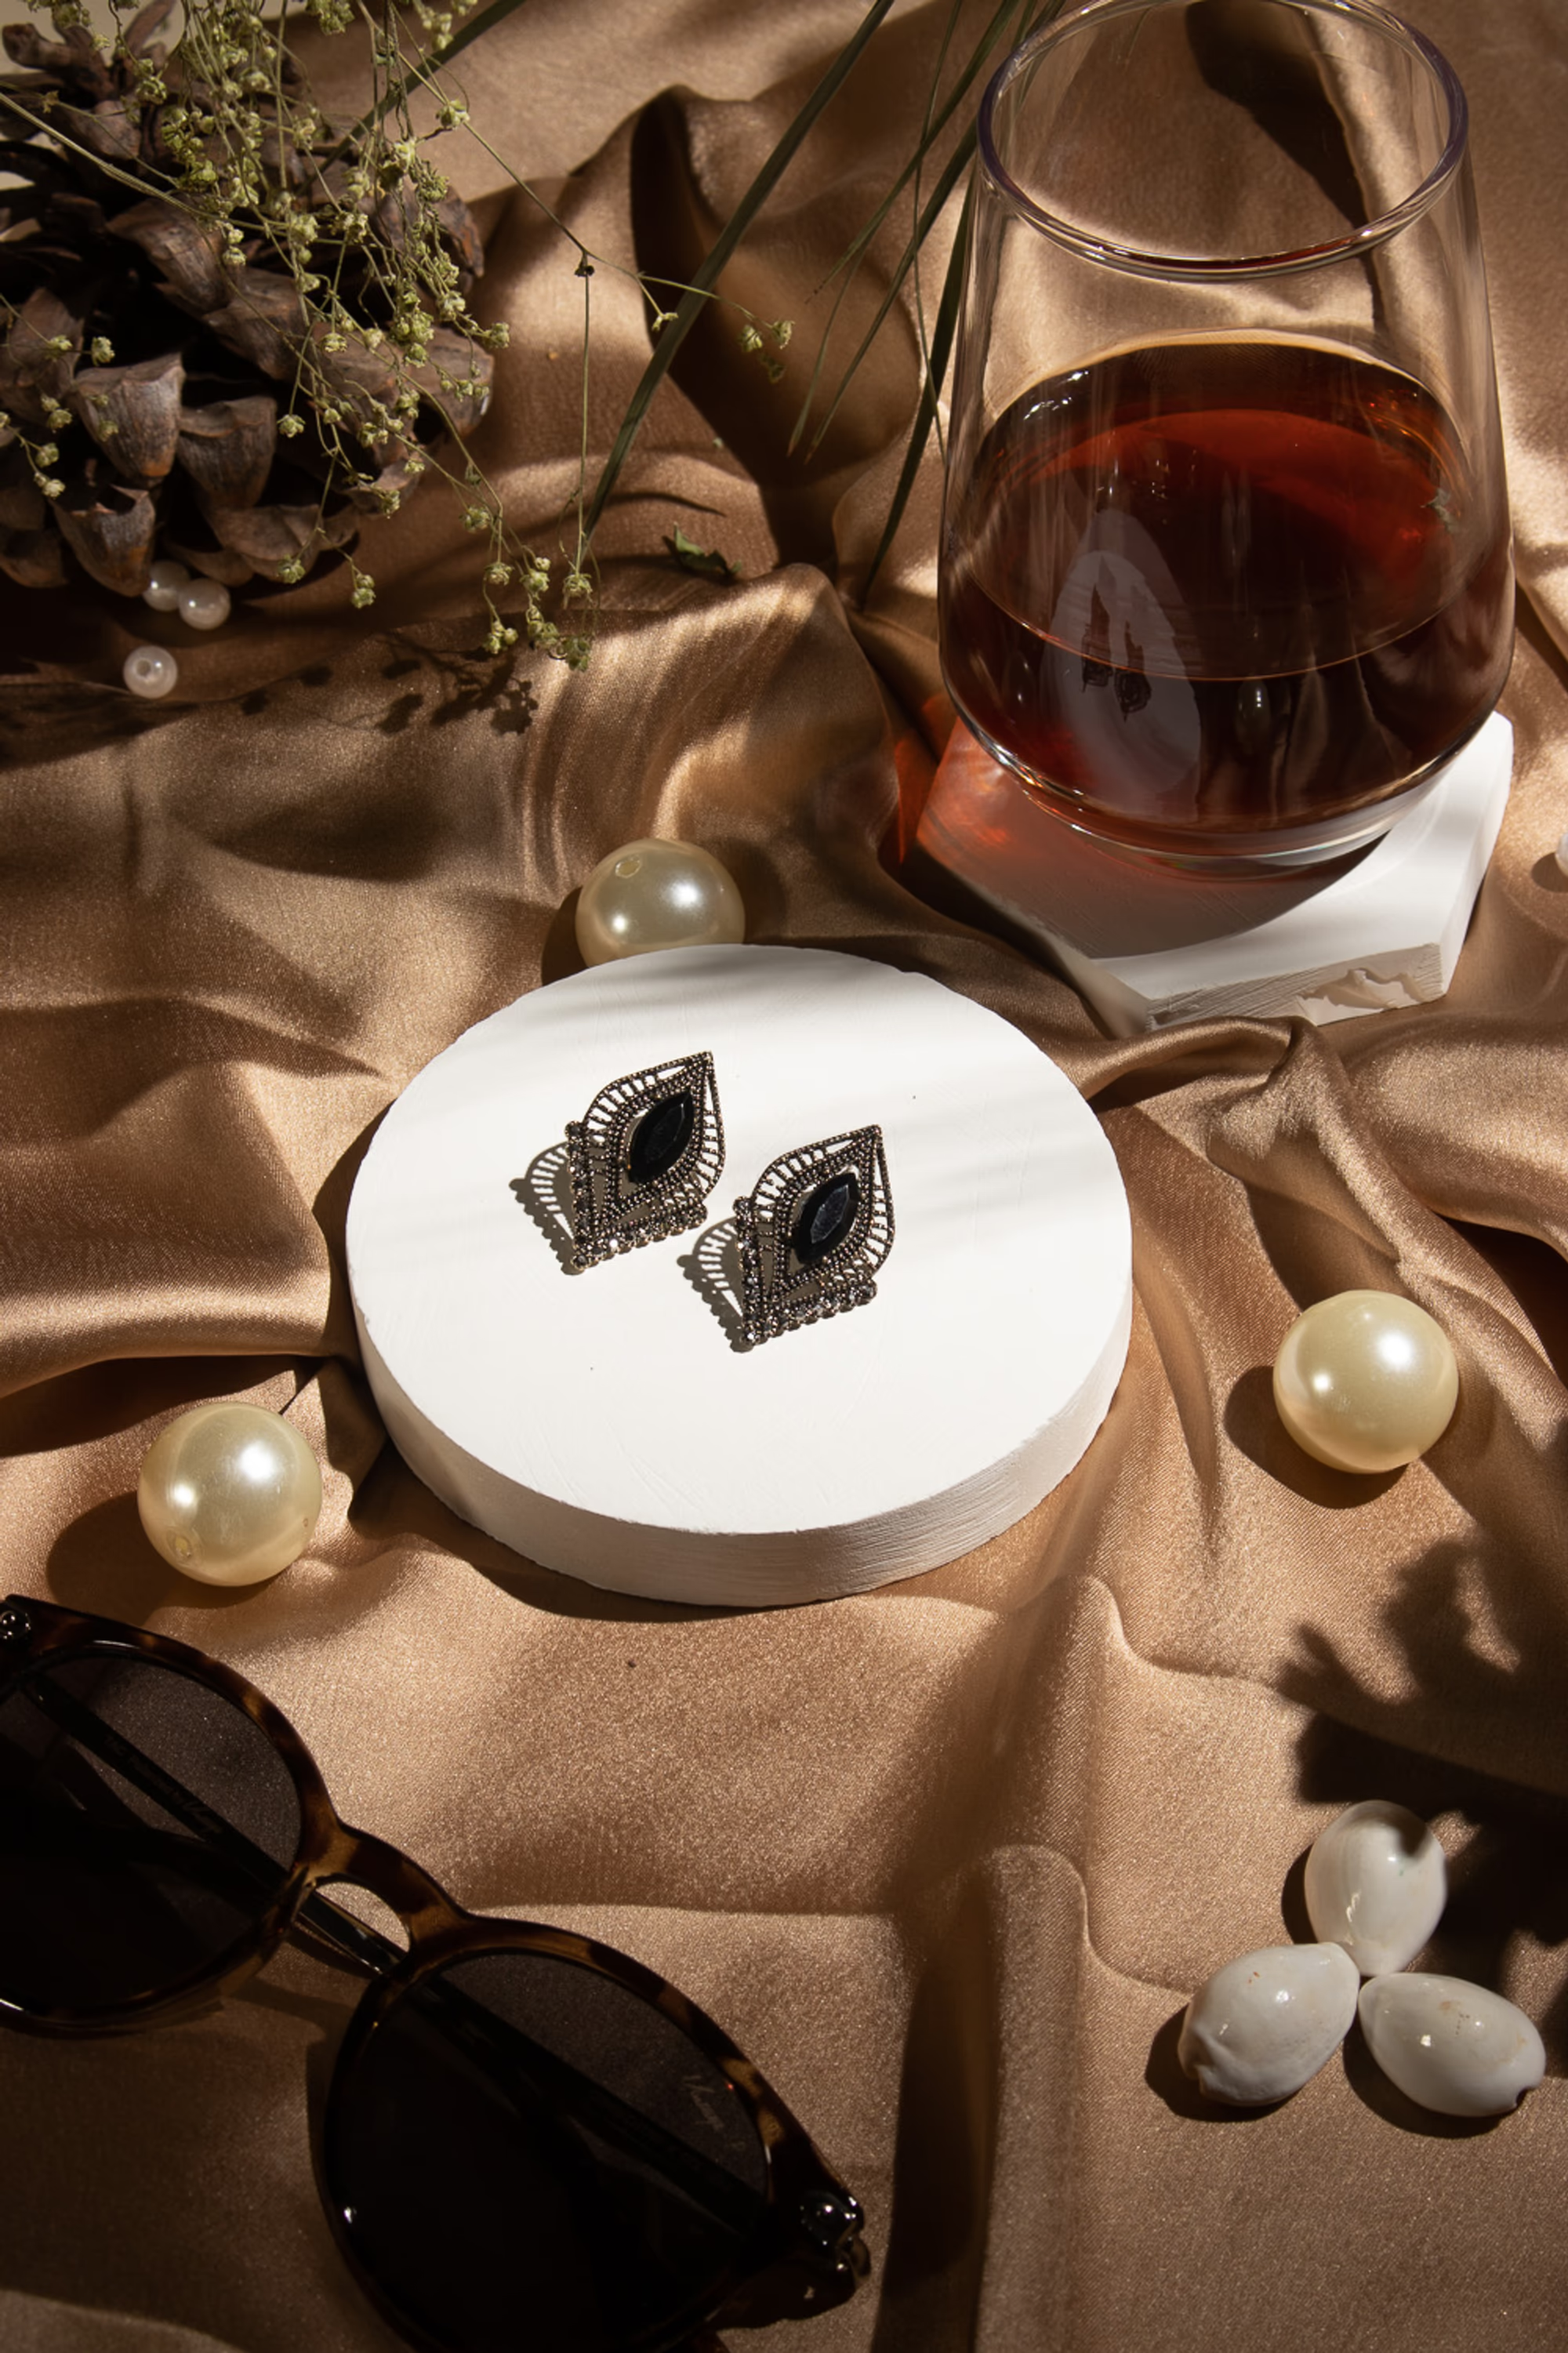
Here are some of the images we got straight from the camera :
That look like this on our Instagram Feed.
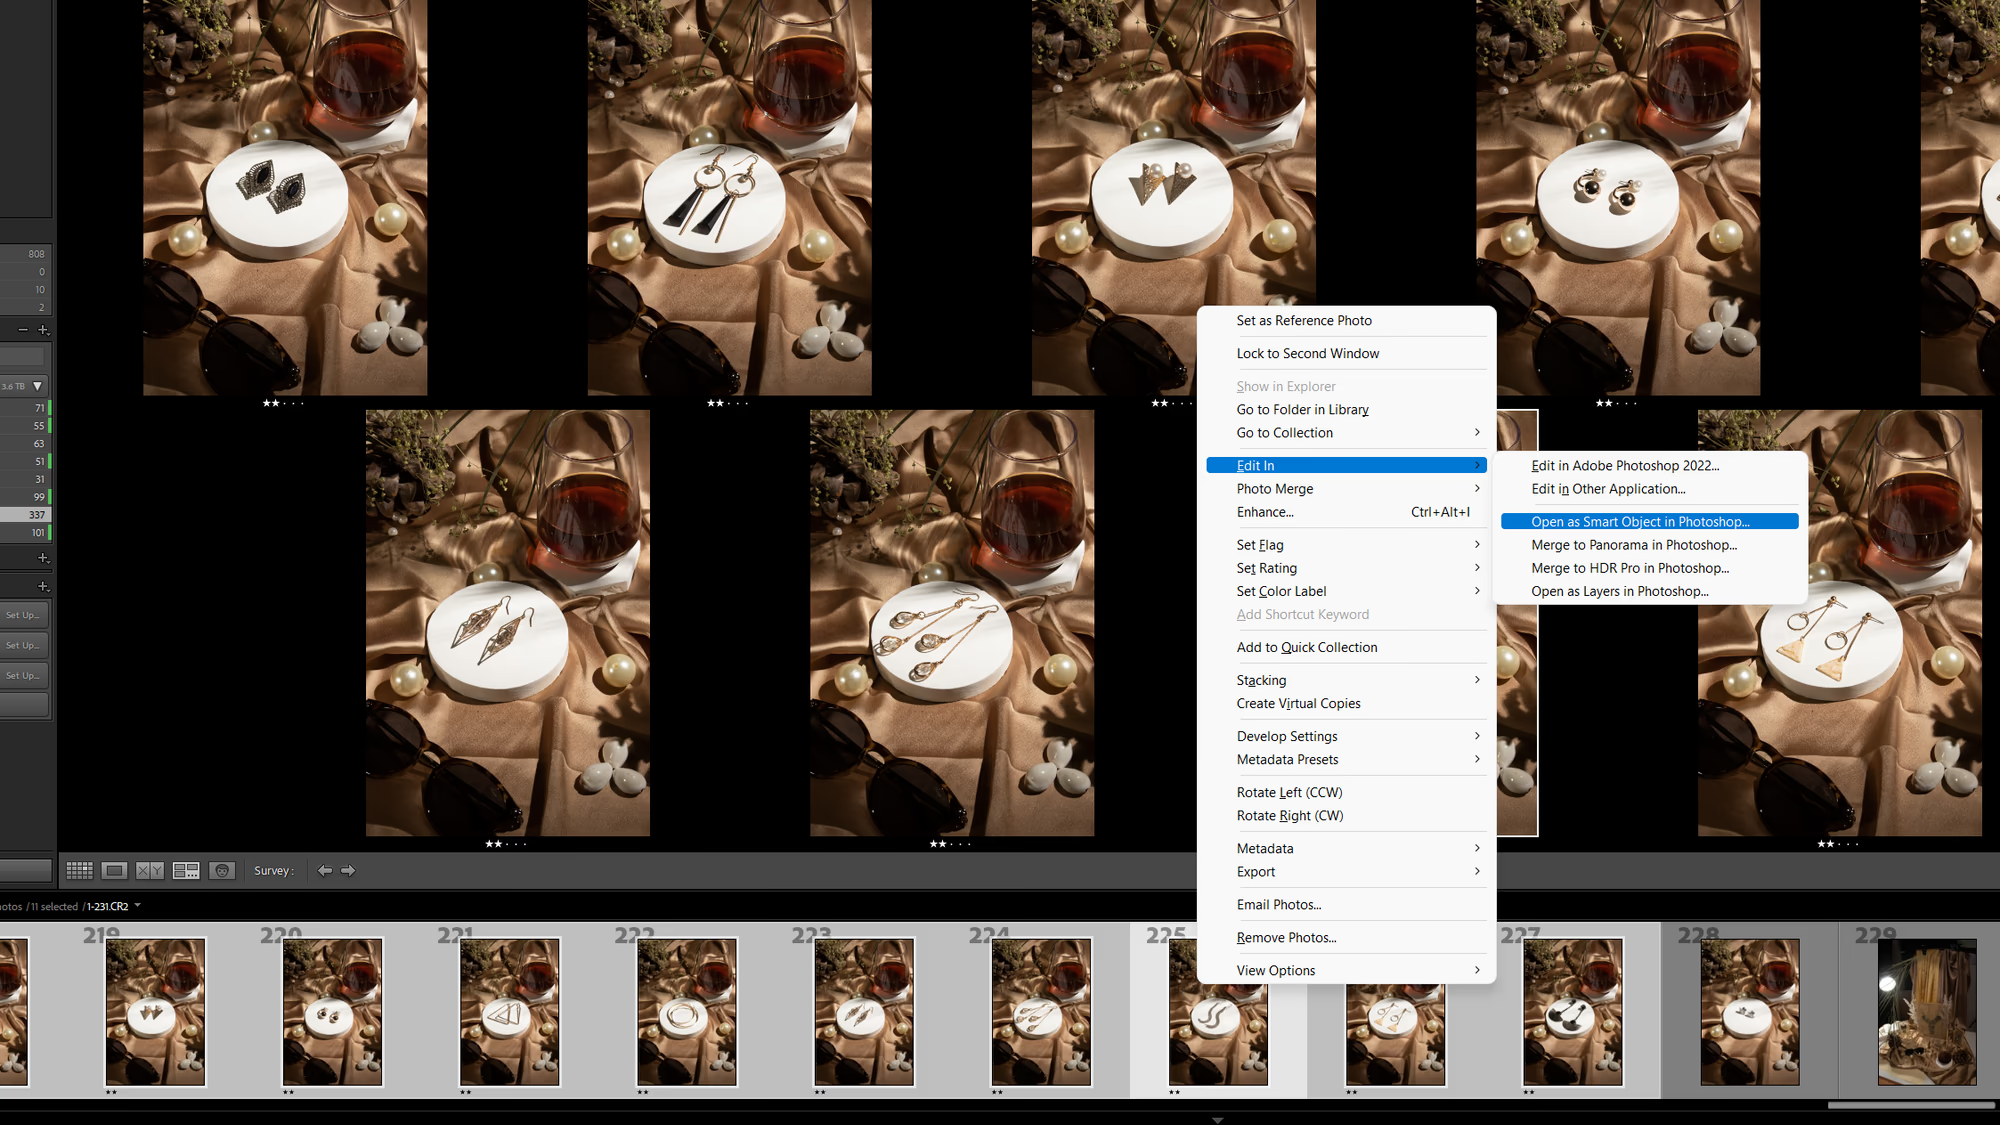
As I spent time making my shots perfect in the first go, I was happy with how the images turned out straight out of the camera. So I selected my favourite shots and sequences and imported them straight to Photoshop.
- Select images you like
- Right-click and select "Edit in". Then select "Open as smart objects in Photoshop".
- Next Align and Crop
This step opens each selected image as a separate layer in photoshop. Since the images I selected are in a sequence, I will optimise my editing workflow to prepare one background & then work separately over jewellery by masking. You will get a clear idea later in the tutorial.
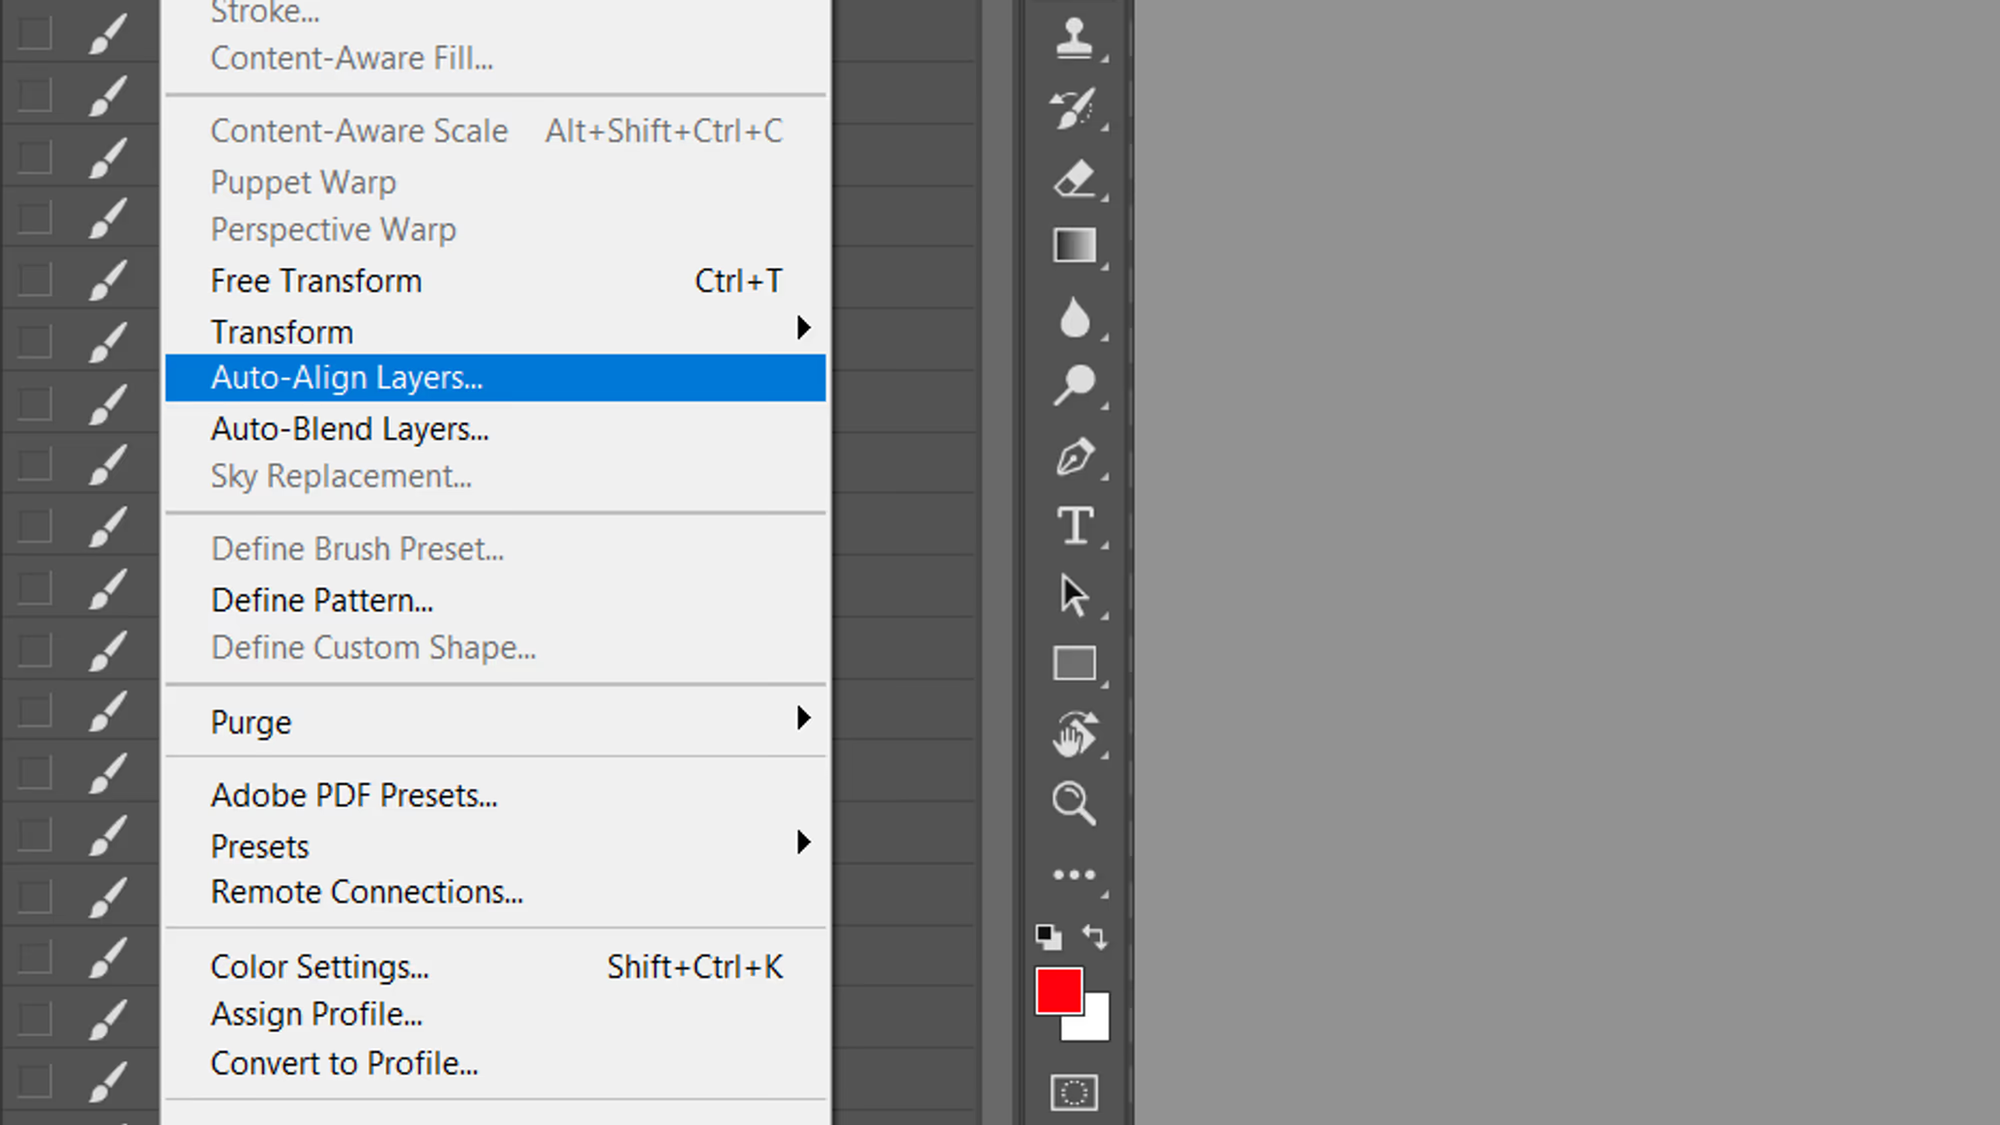
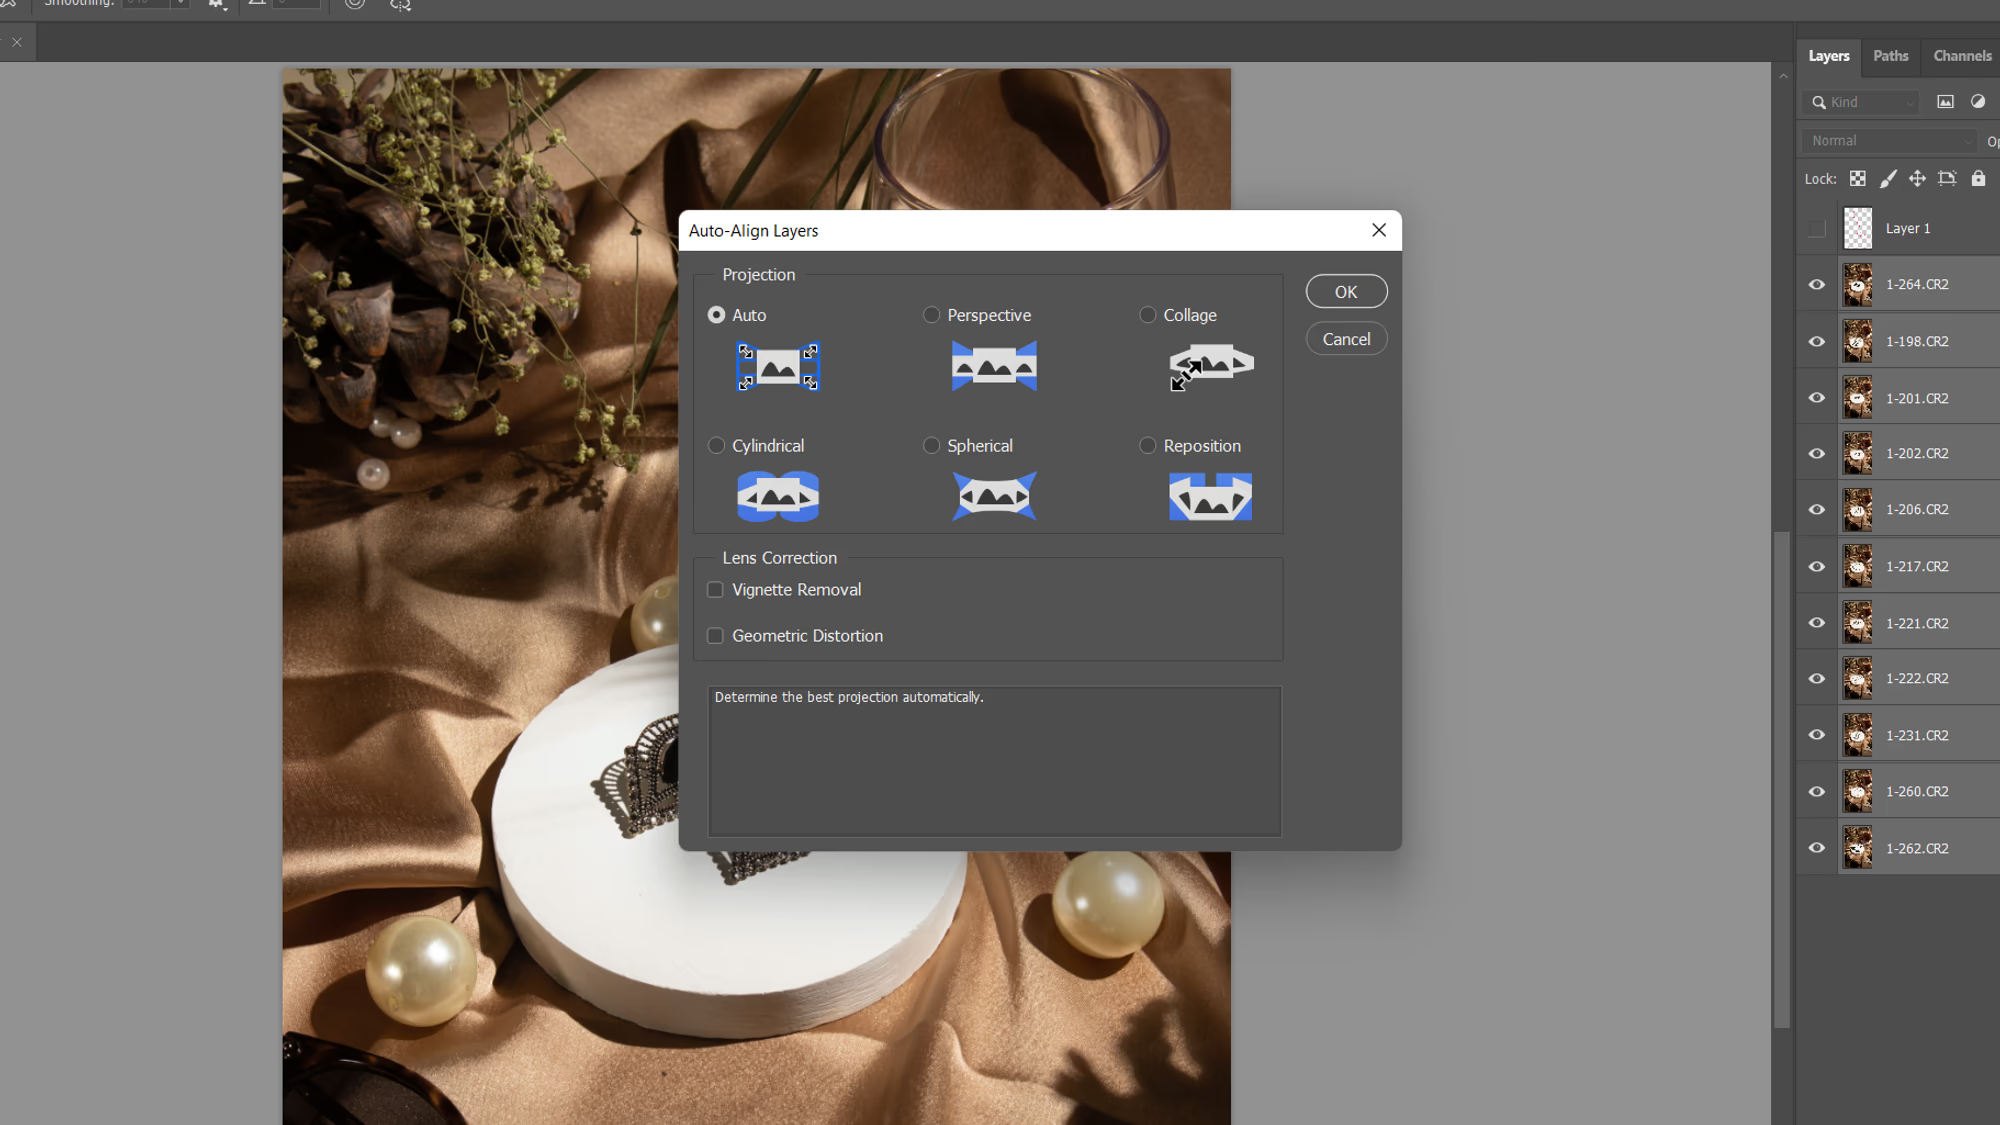
Go to Edit → AutoAlign Layers → Auto.
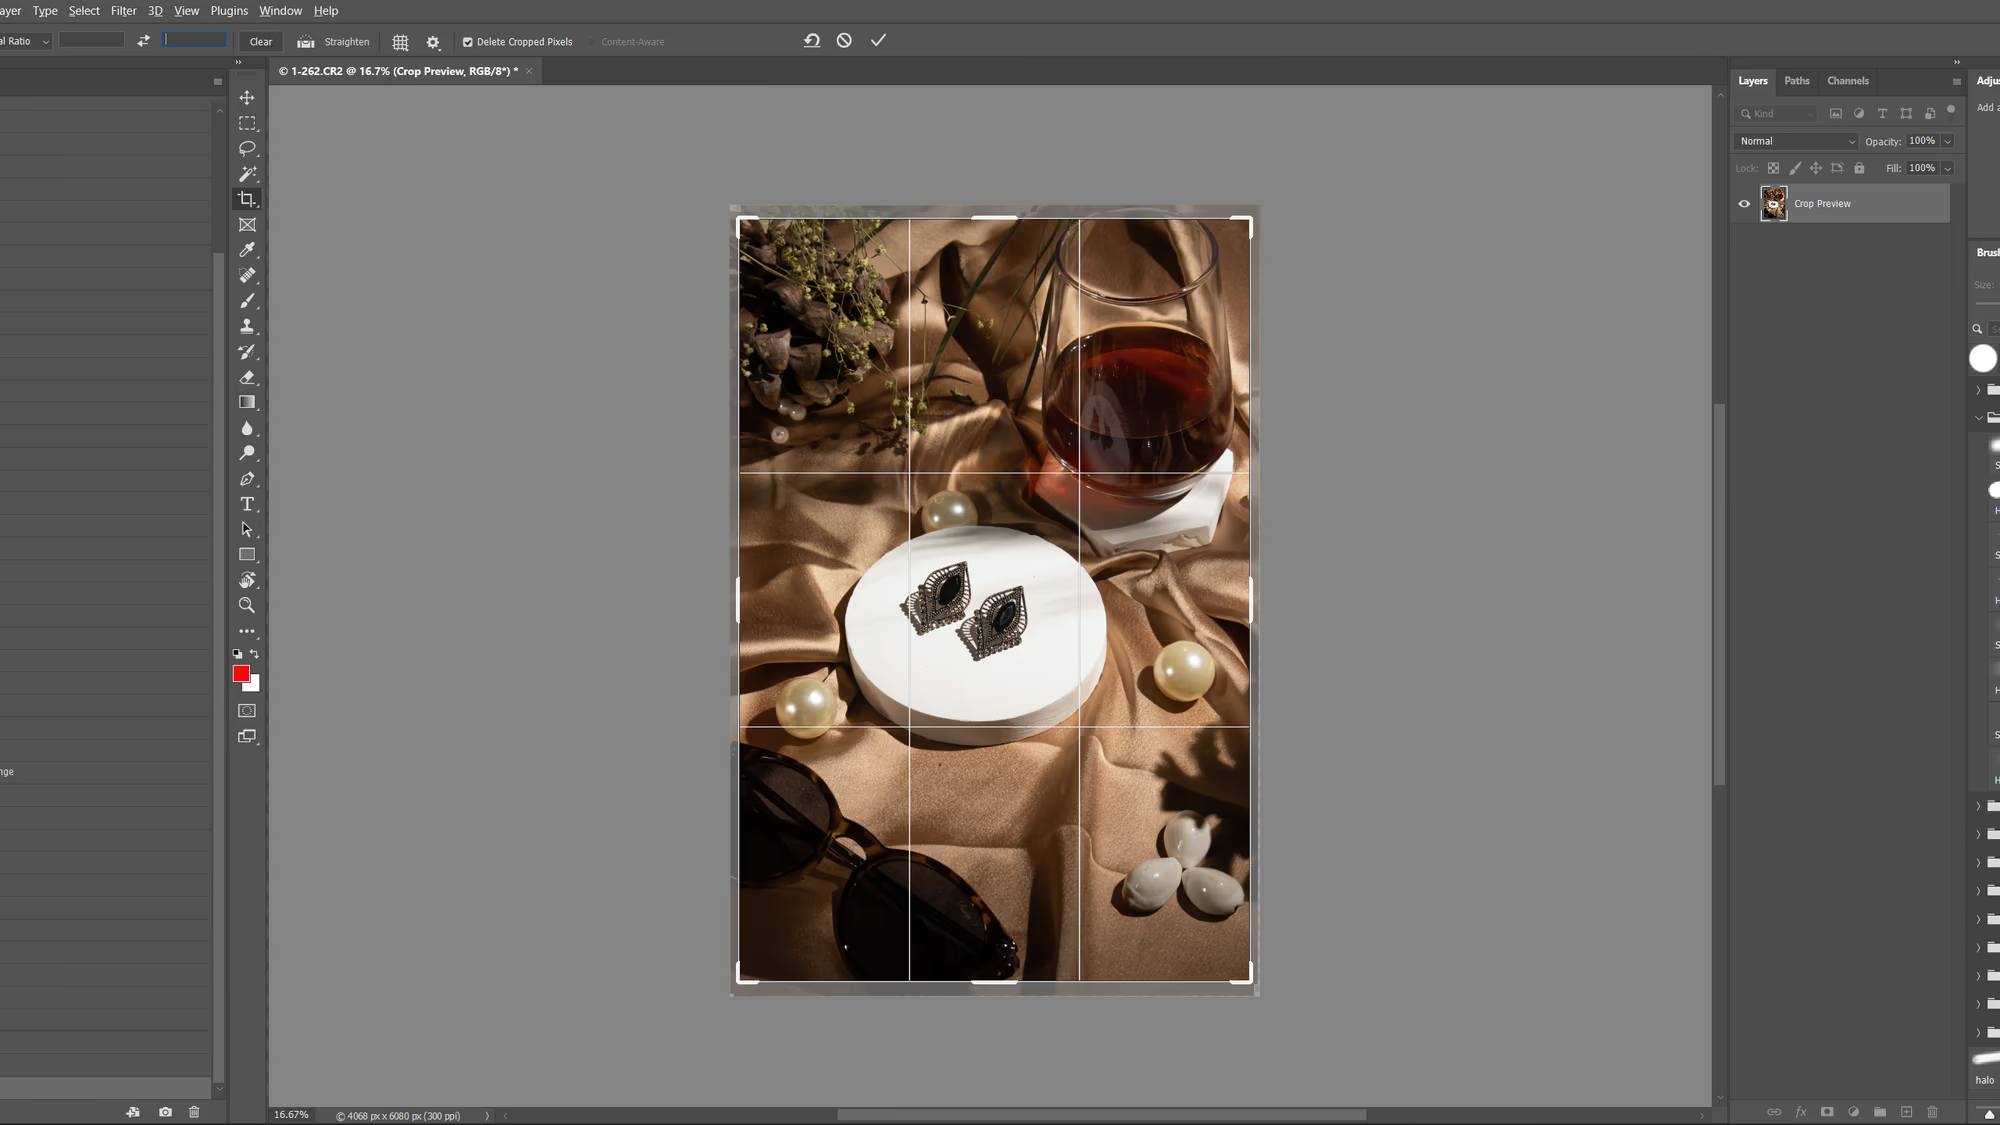
Adjust your Crop to make sure everything is on the canvas and Visible.
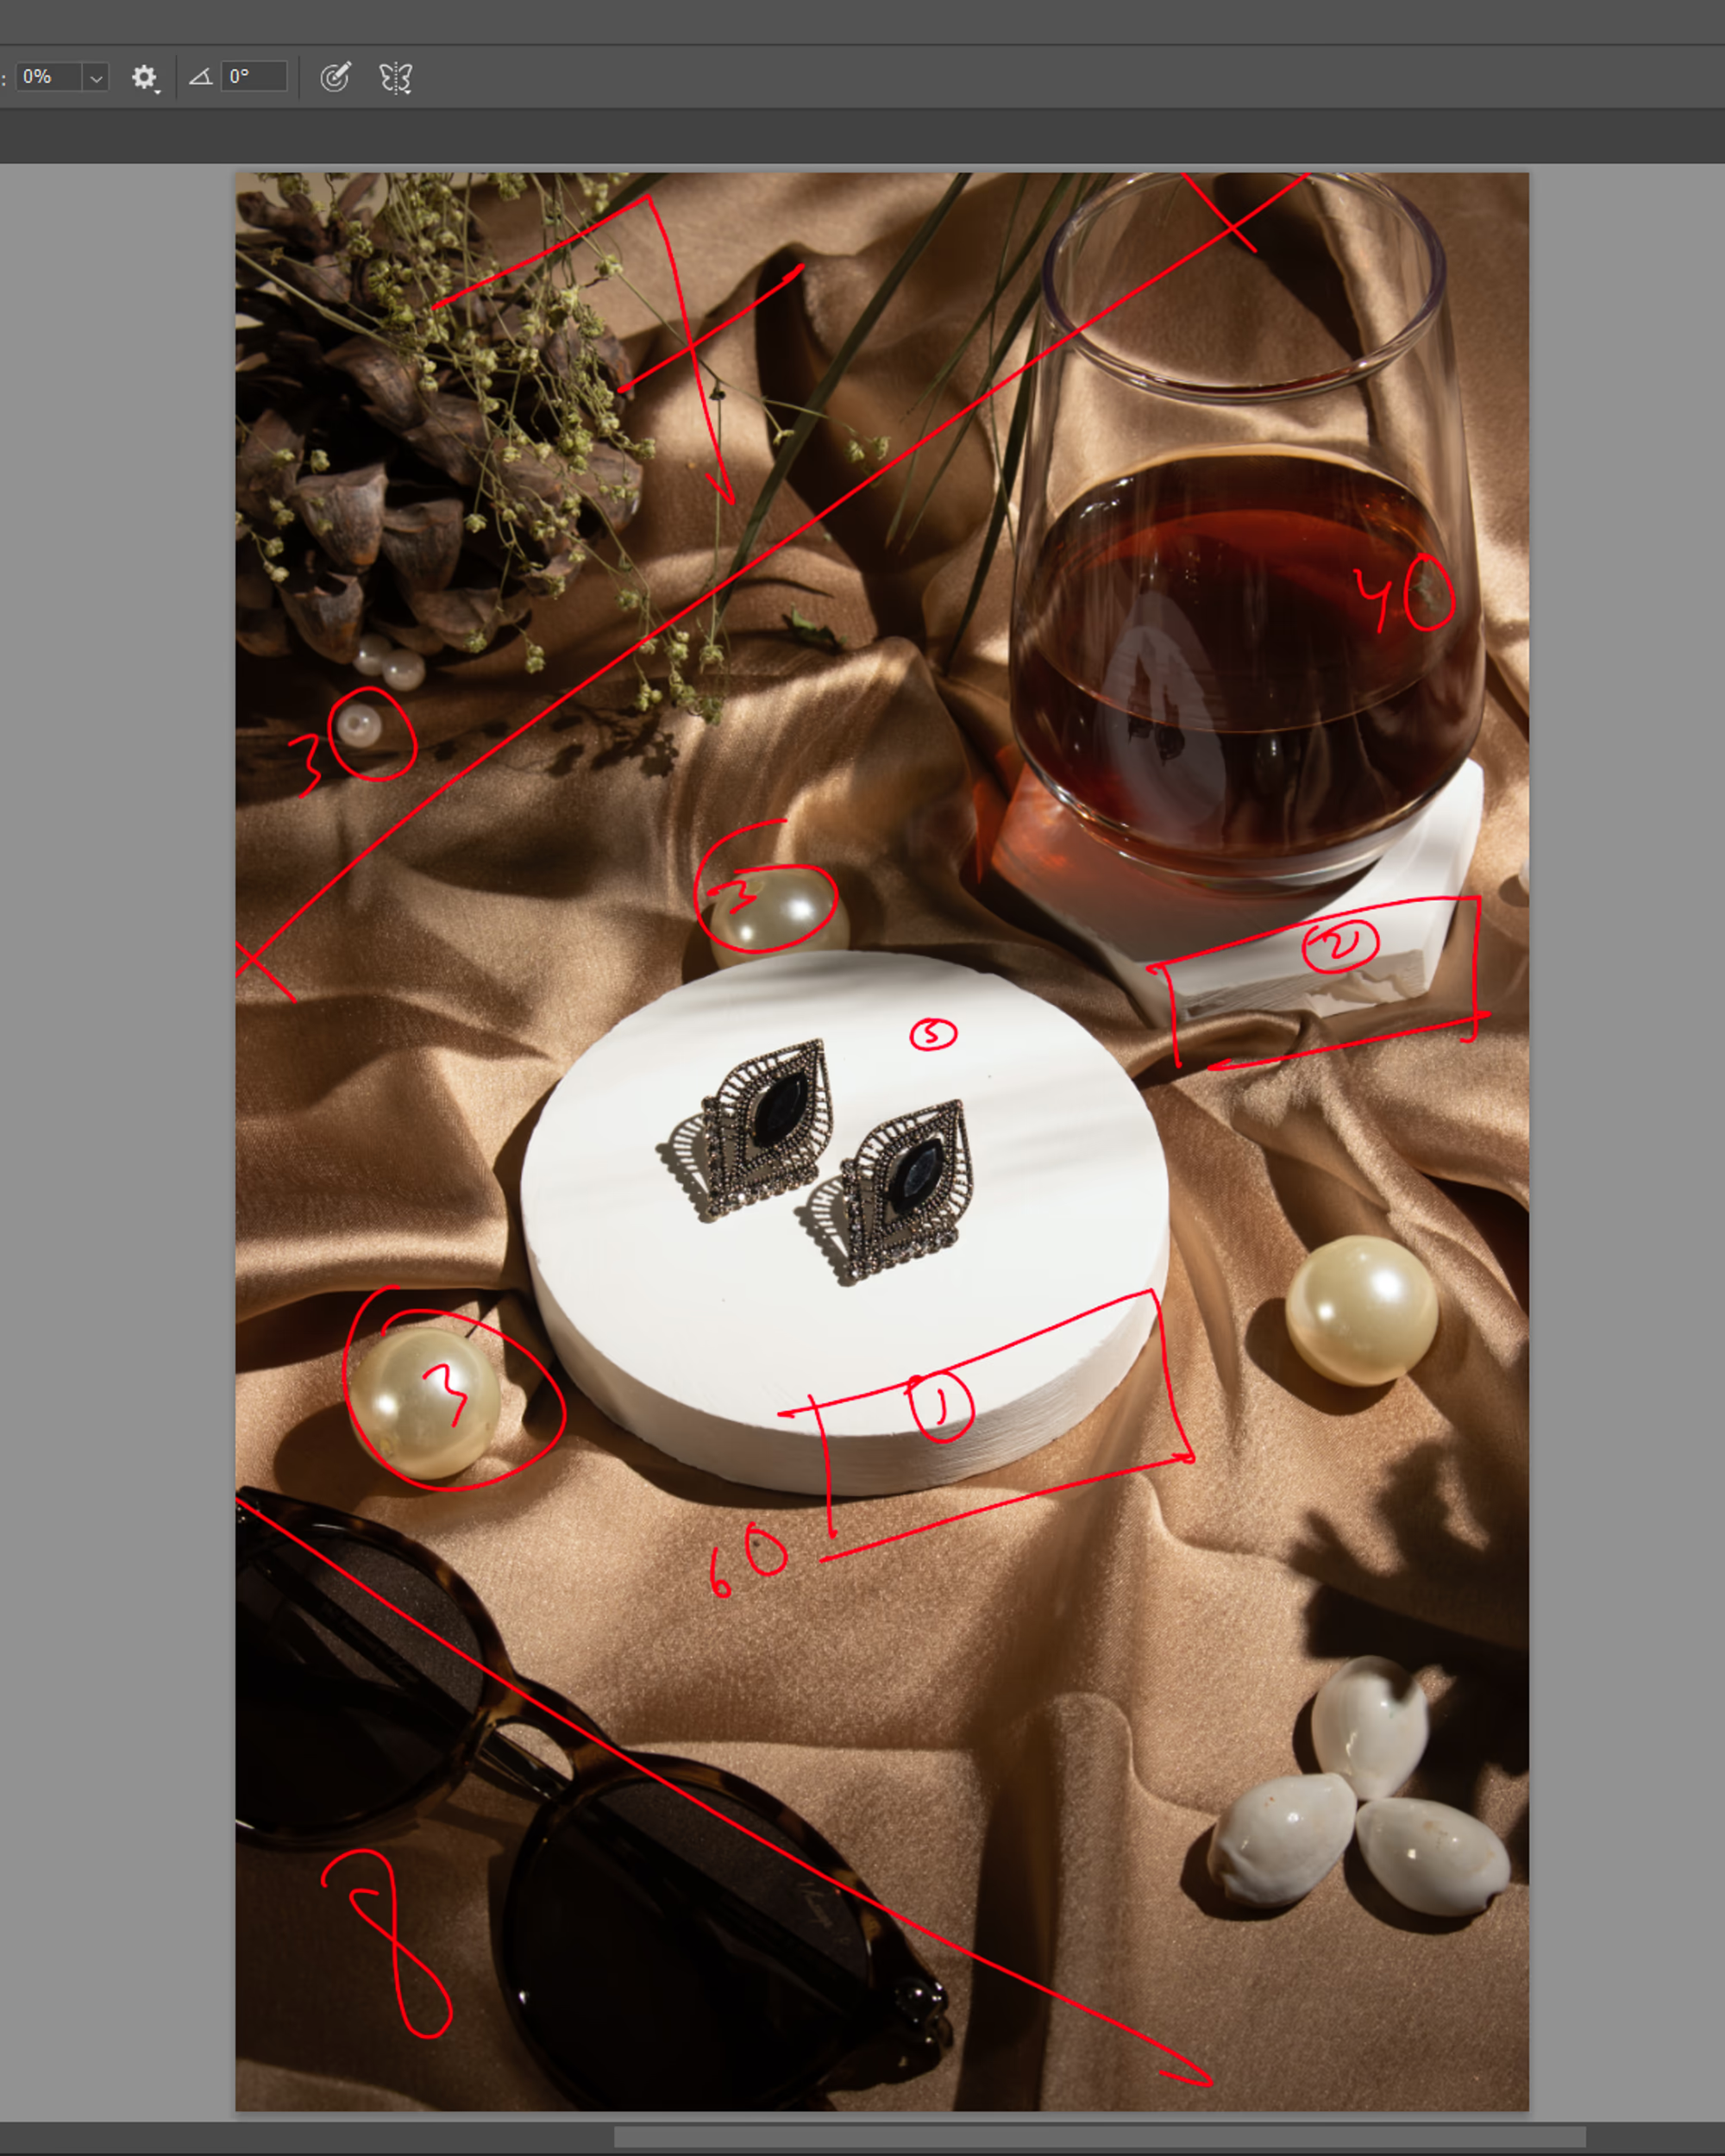
As a photographer, I need to optimise my workflow to meet the desired quality. My first move is to make an action plan (read here). I figured out these issues that I need to solve:
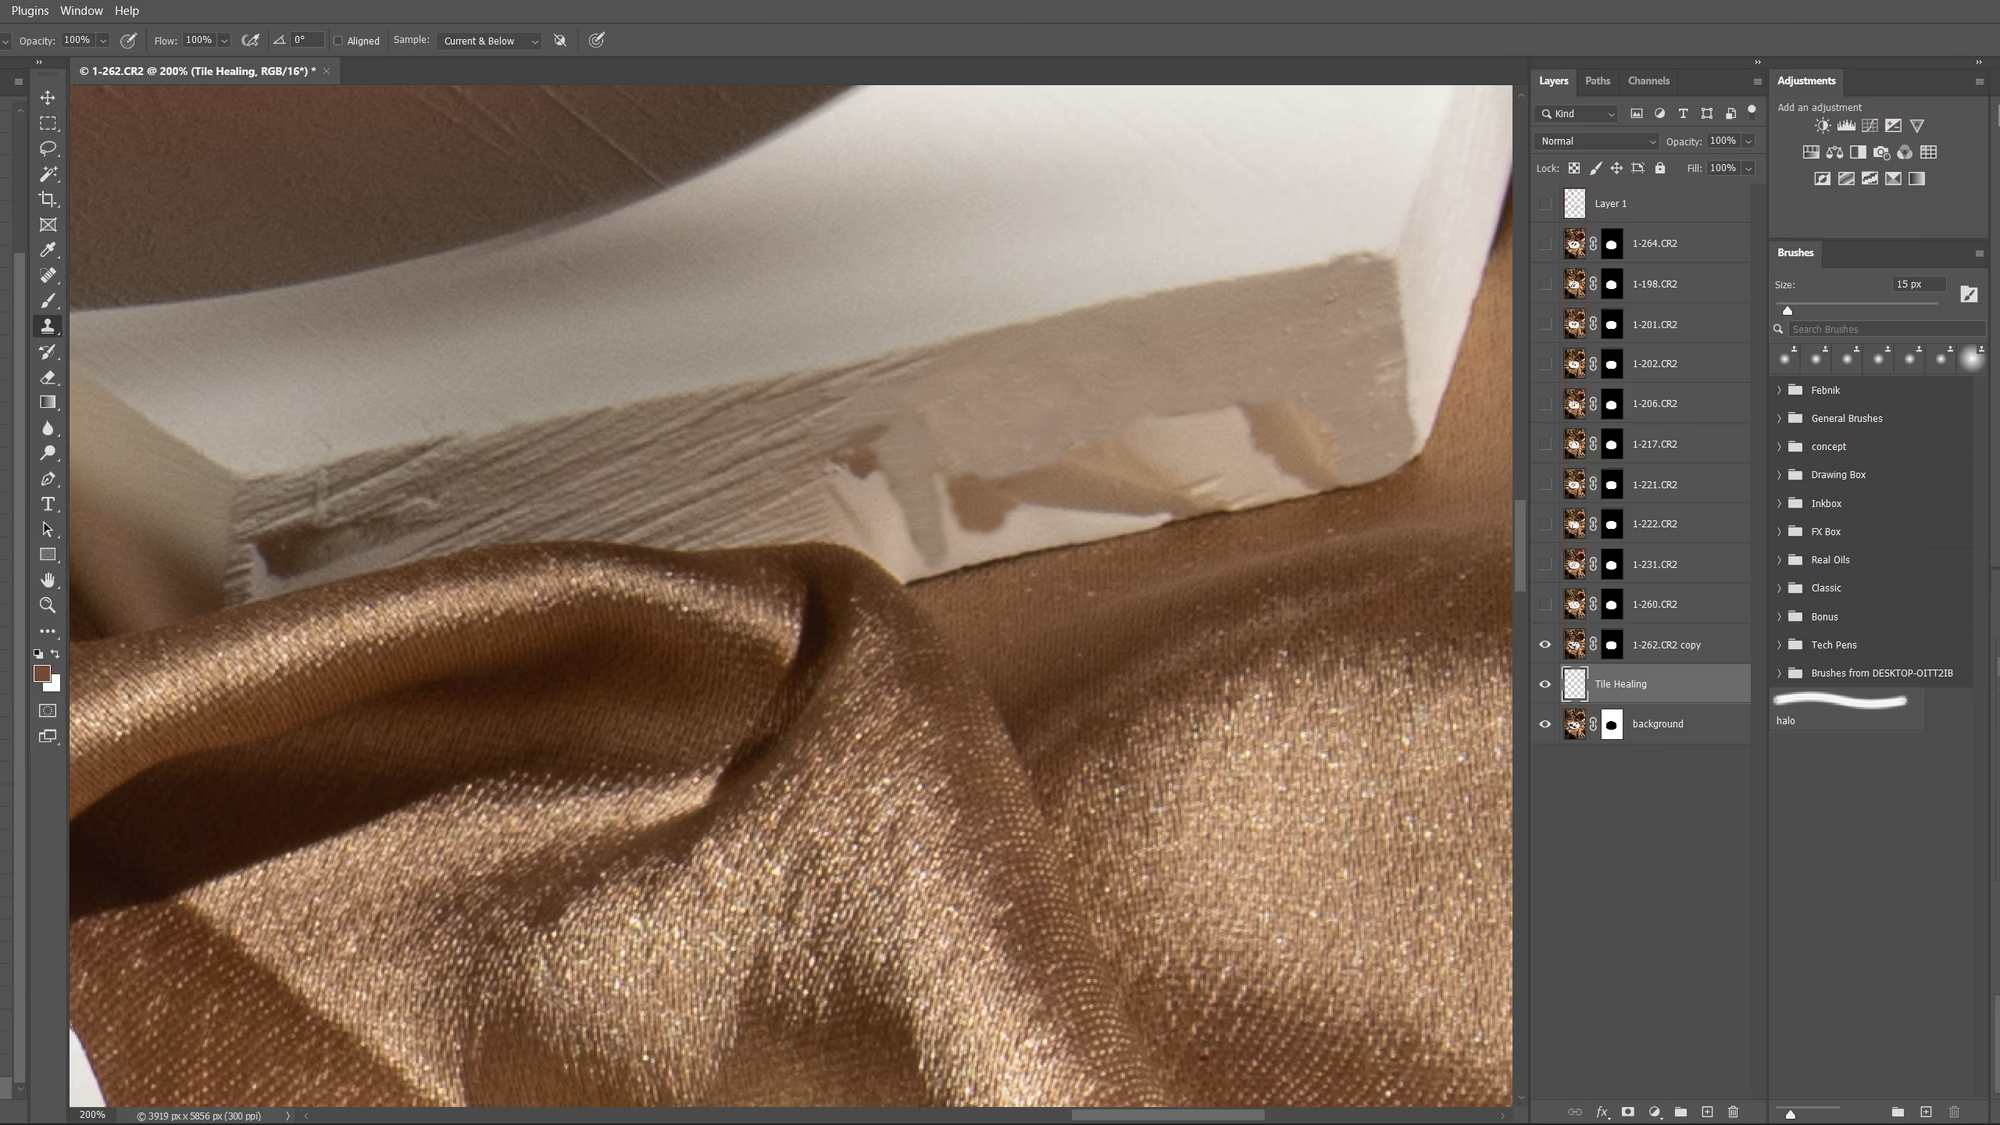
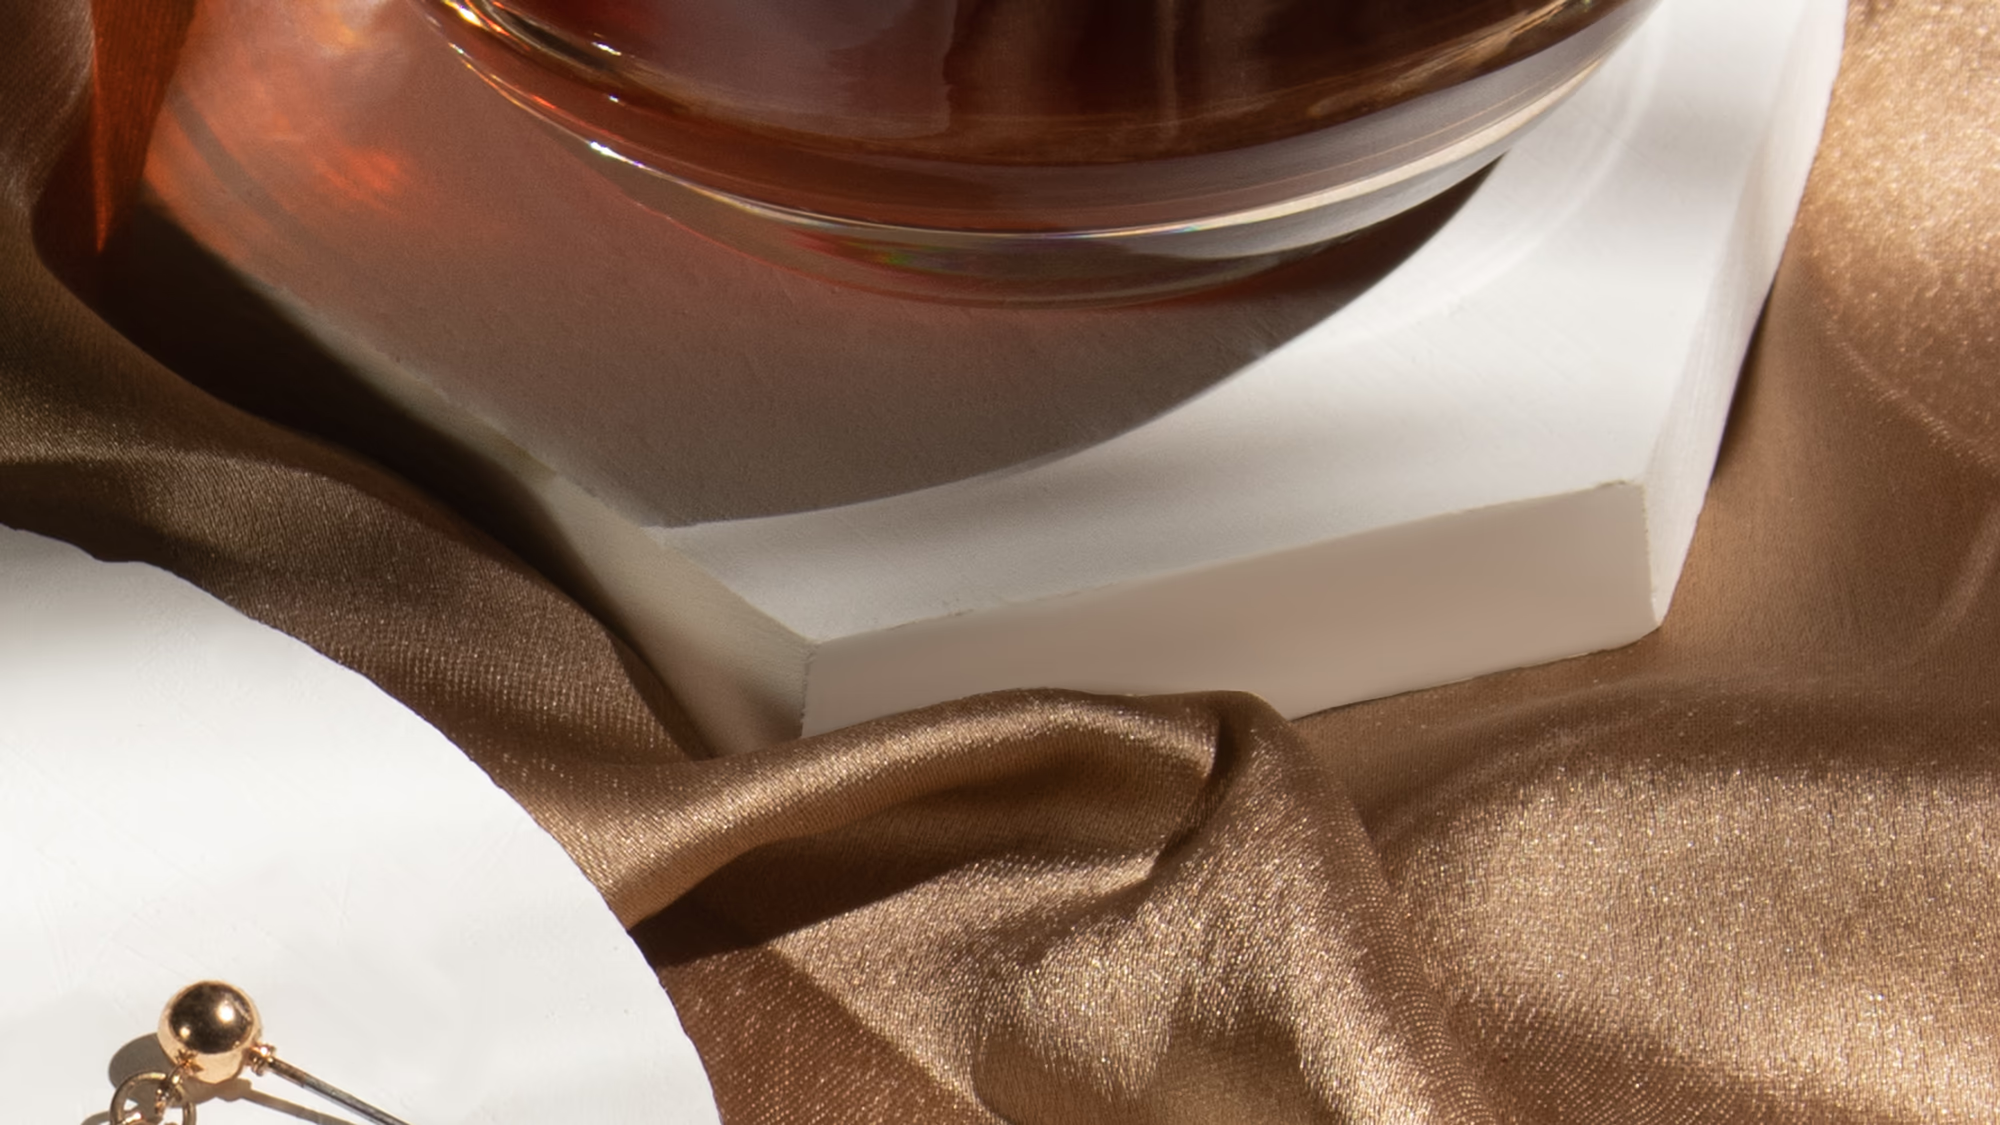
- The Hand Made Pop Base Platform had some fine texture which seems a bit off with the satin cloth
- The pop platform under the glass is a bit chipped and is distracting.
- Artificial Perls have holes.
- The liquid in the glass has a leaf from the flowers on the left of the frame.
- Need some texture smoothening on the base of earrings
- Some dust and dried leaves from the flowers
- Need some exposure balancing (to adjust the frame as a whole)
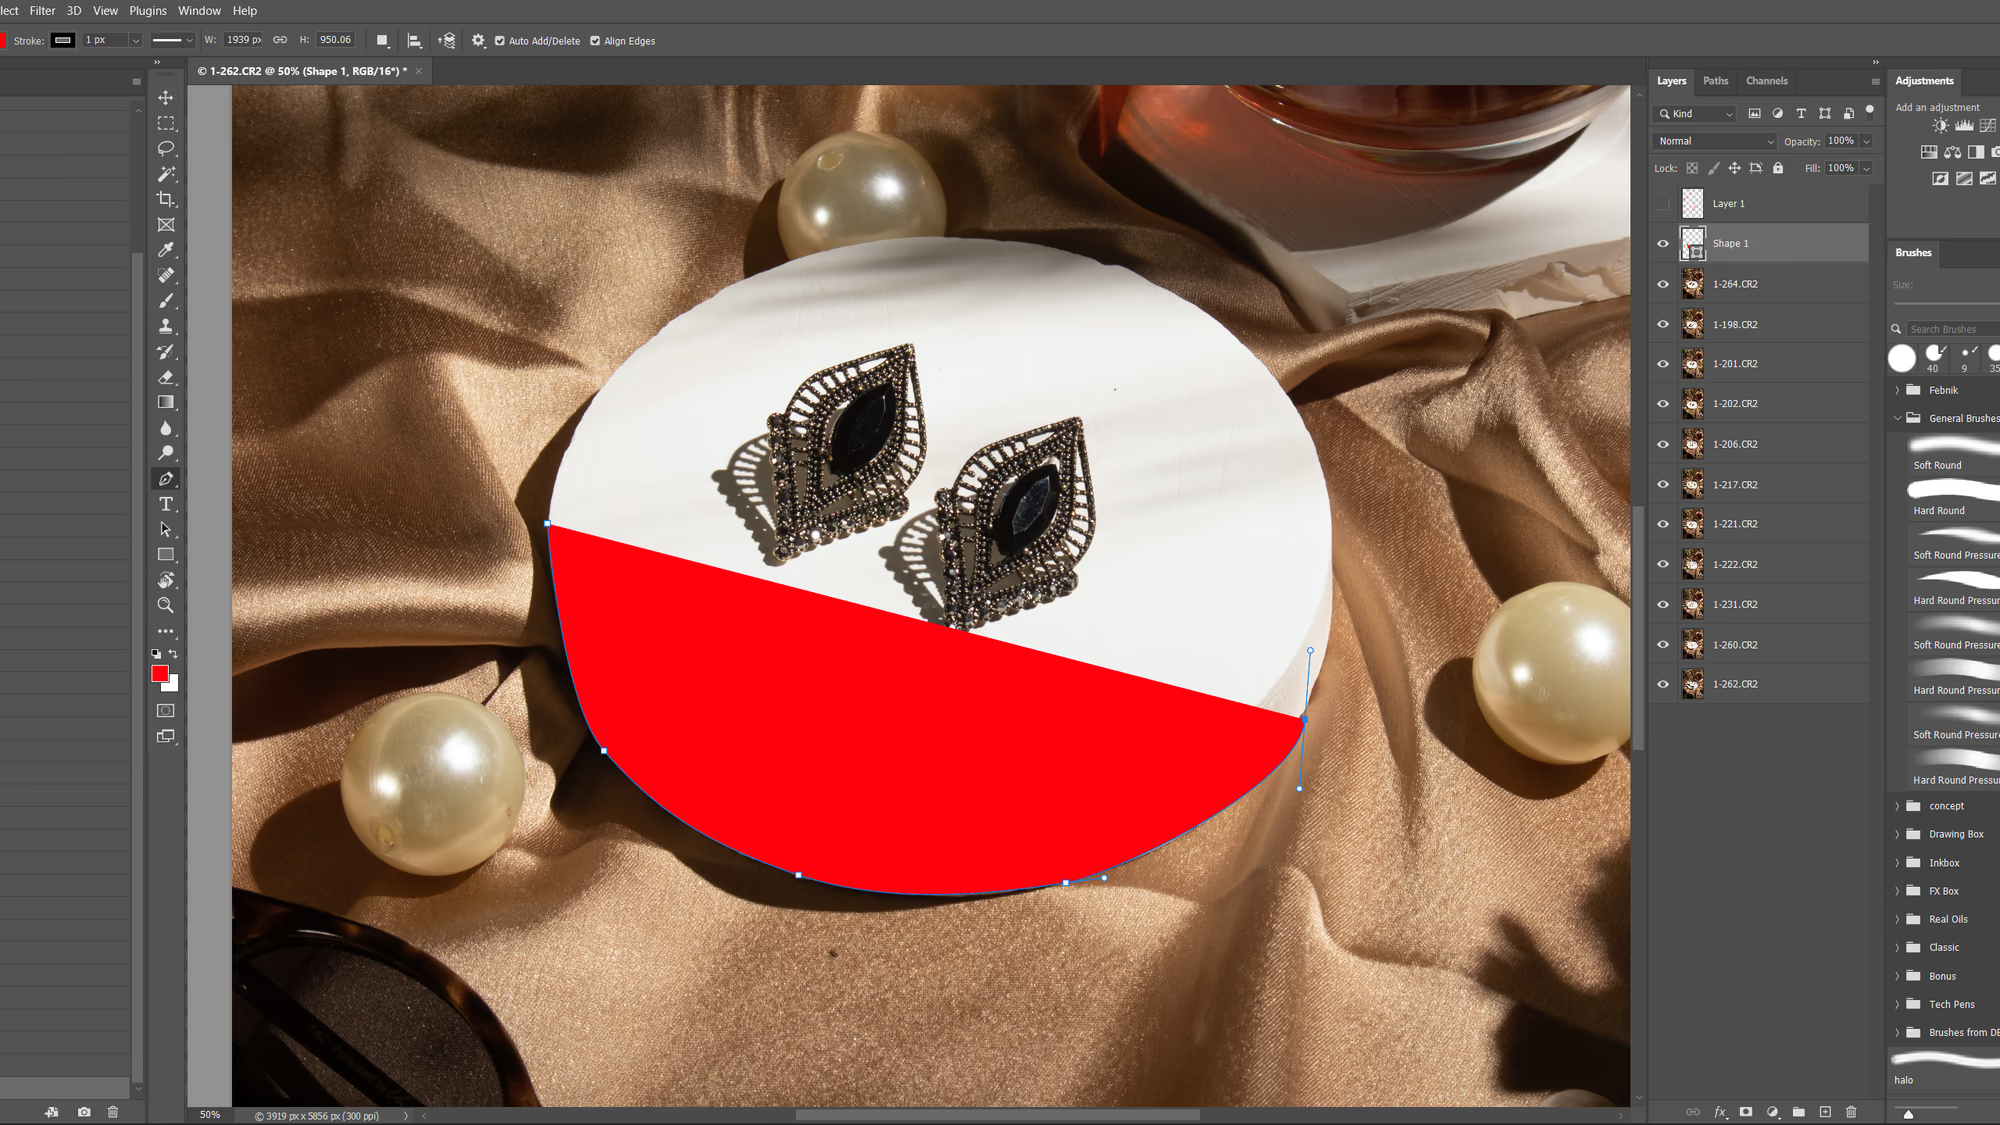
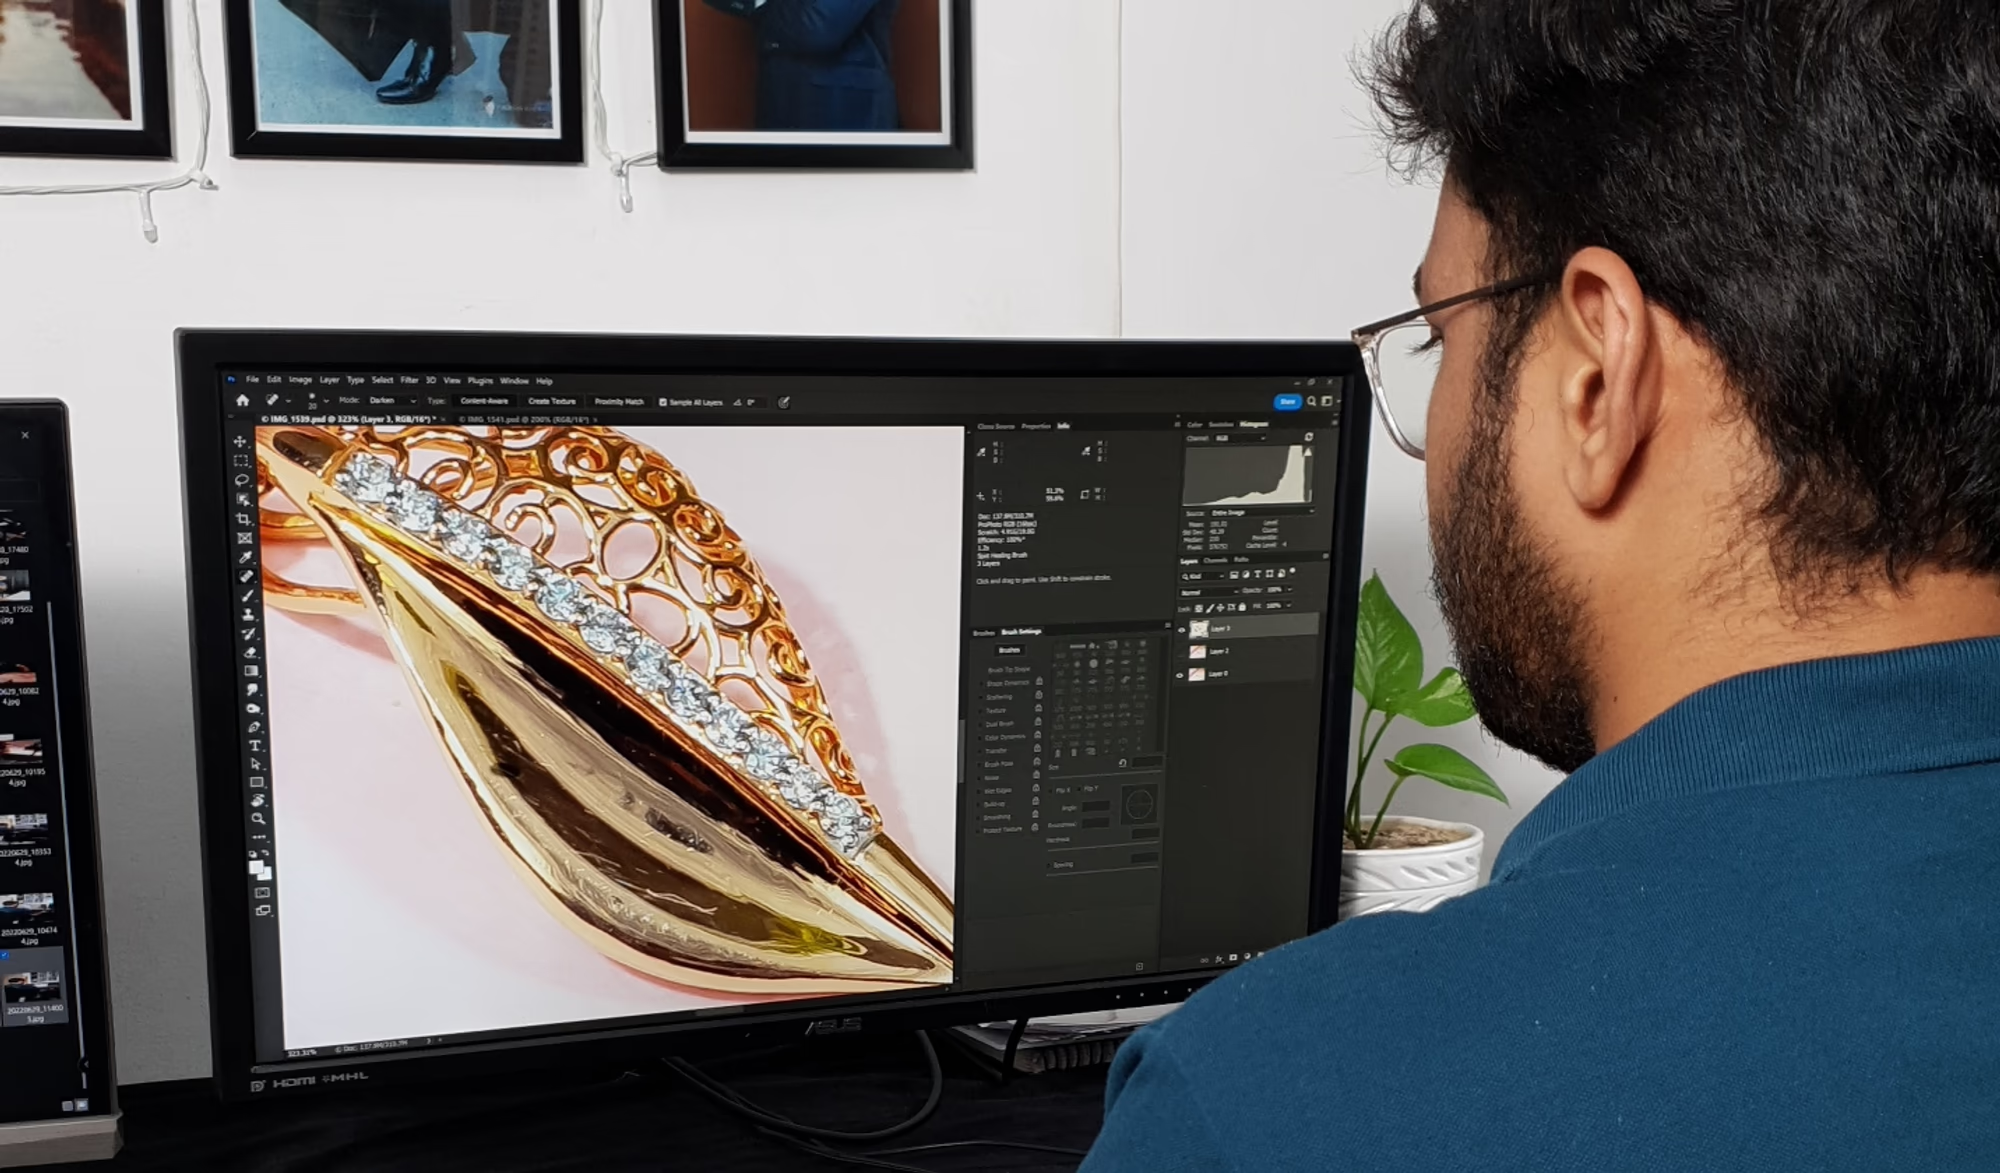
I am using a pen tool to mask the earring with the base pop platform.
As my camera shook a bit while capturing, I might need to tweak my selection for some layers separately. That would be a 3 min job that we'll look over later.
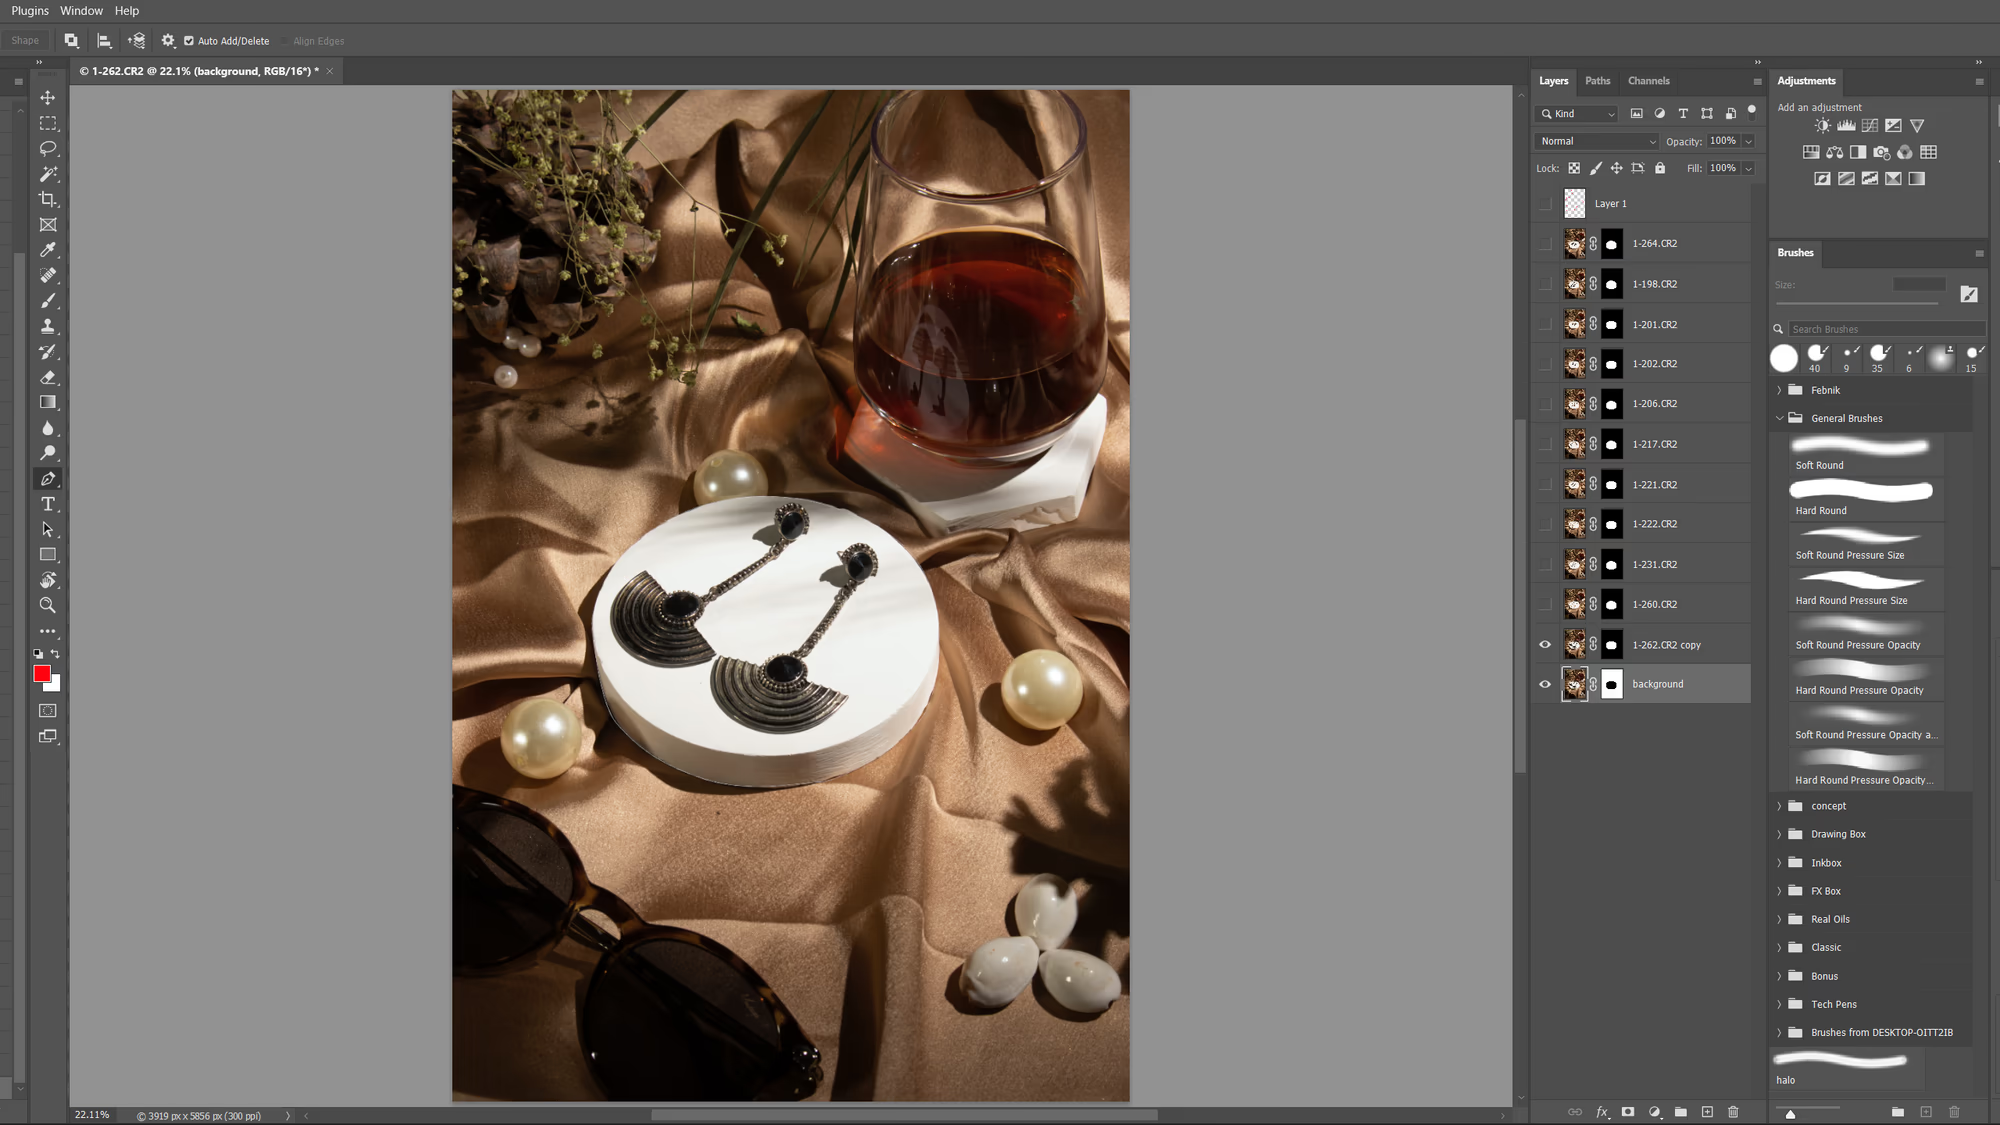
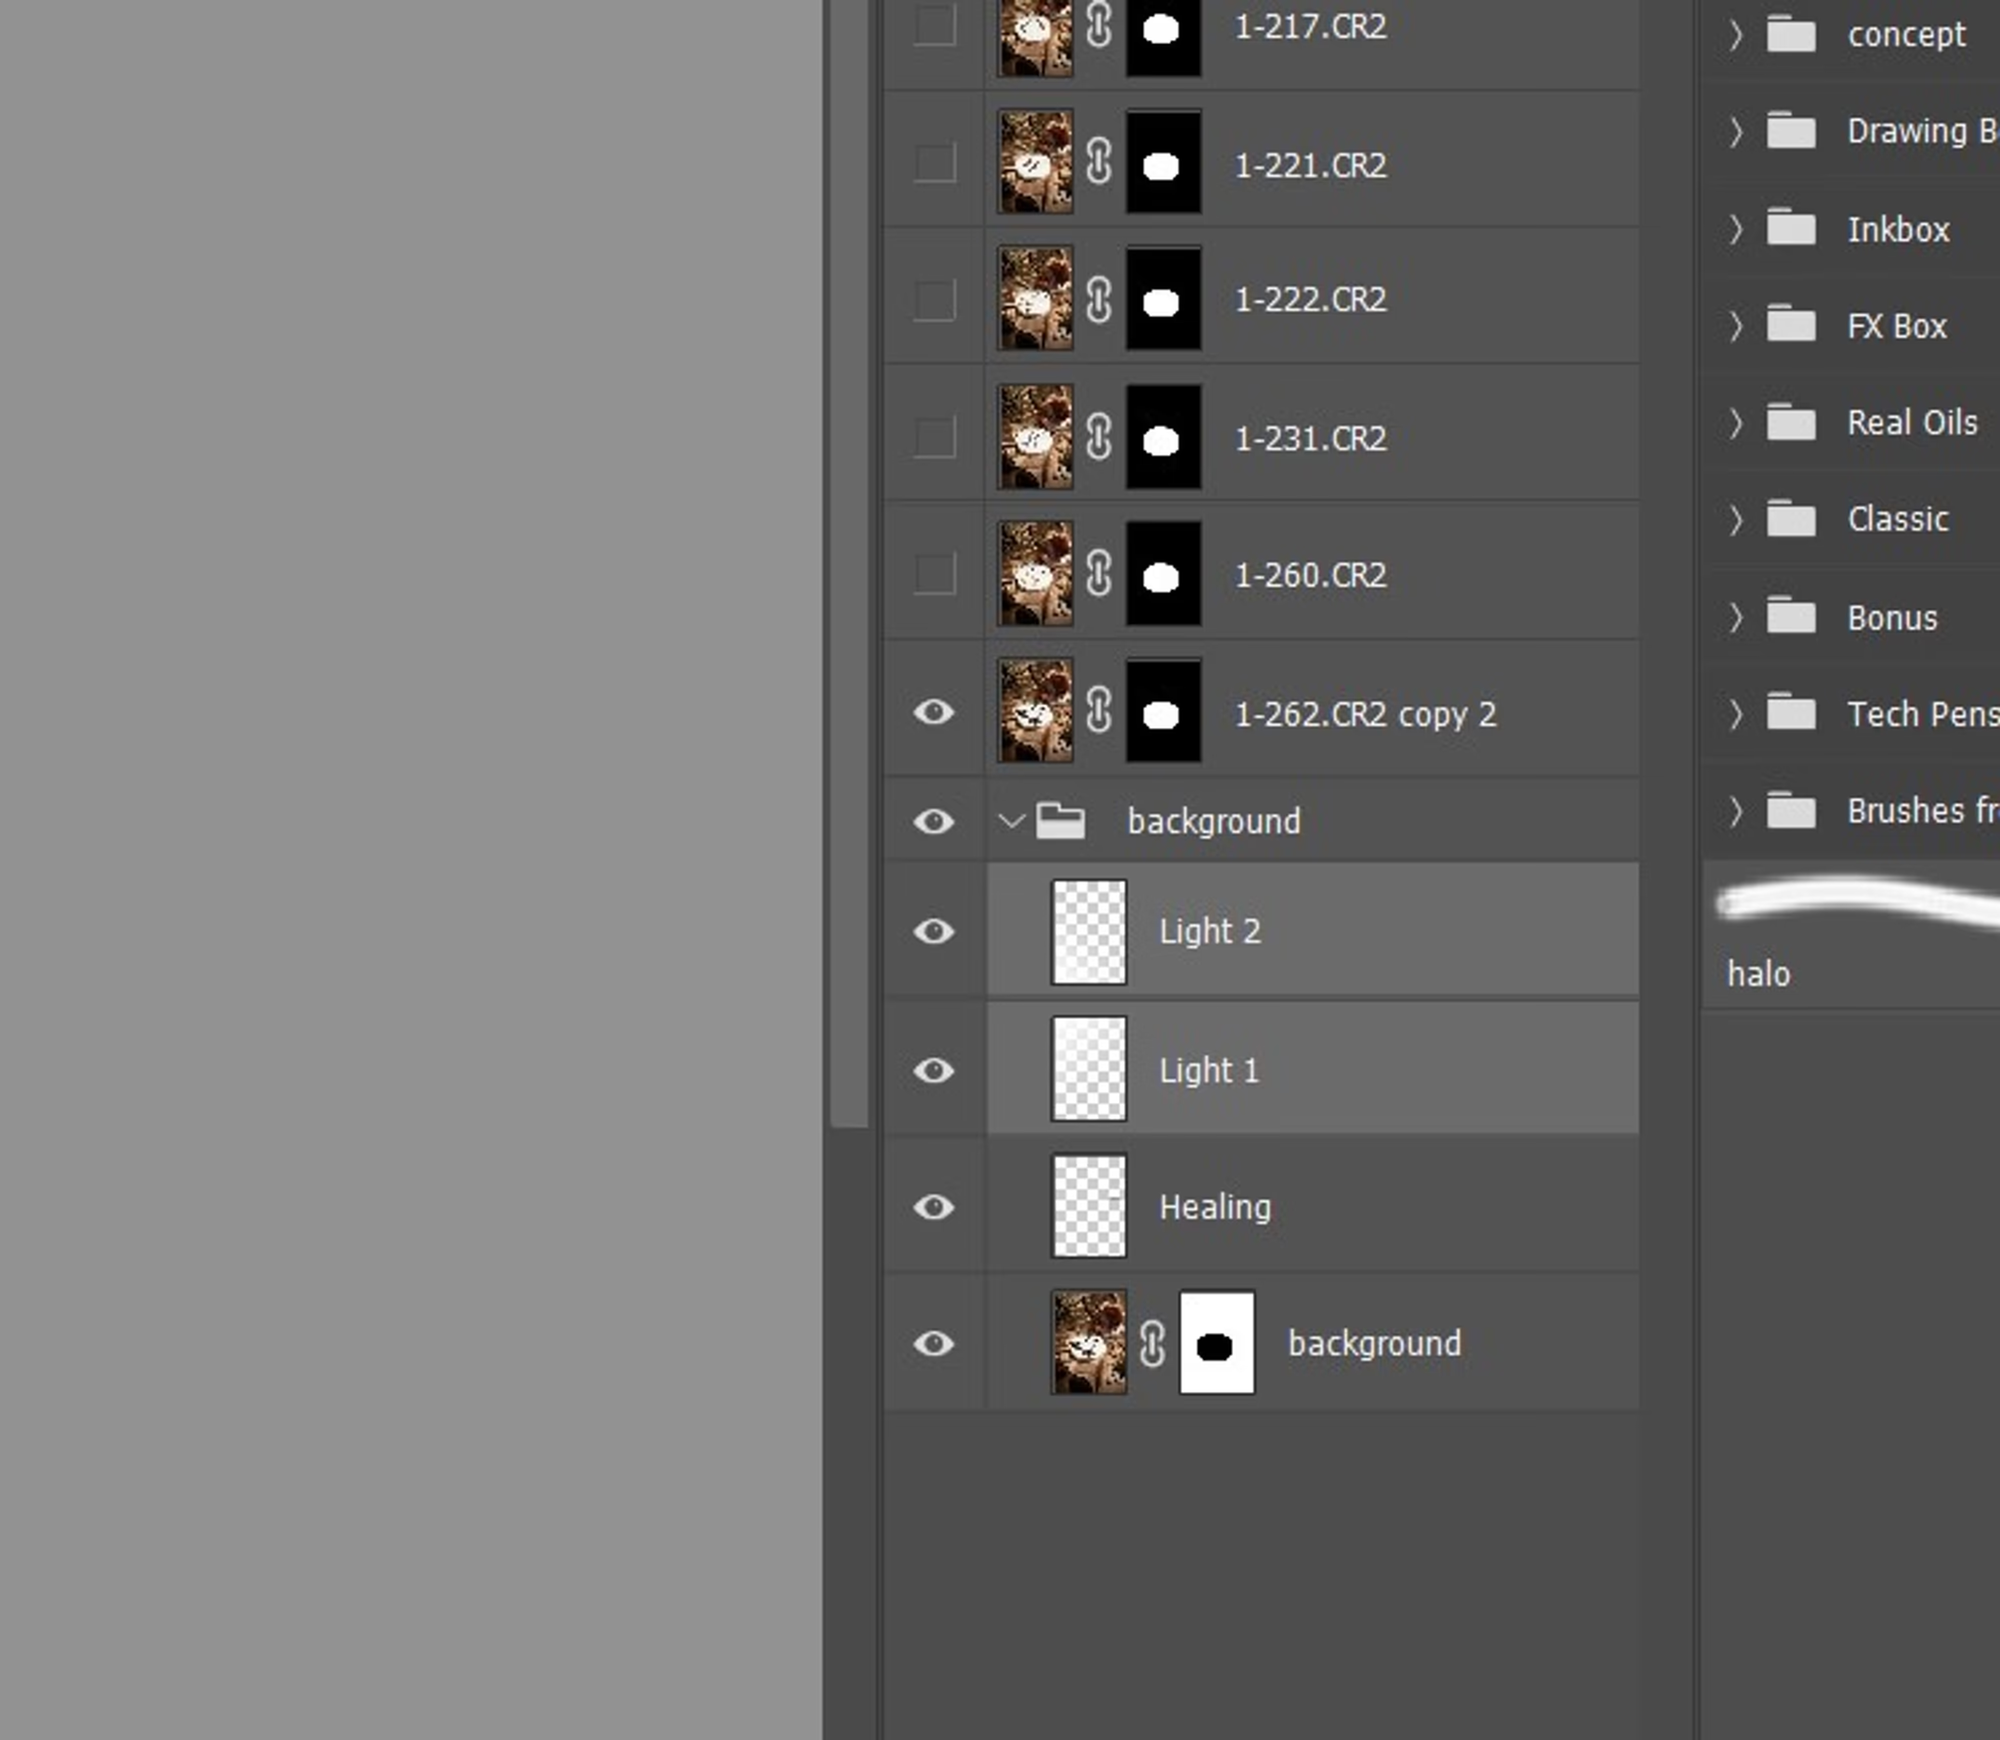
- Choose a Favourite background from all the layers and Make a copy by Ctrl+J
- Select mask and press ctrl+I to invert the mask.
- Make sure to move this layer to the bottom.
- Now you can work on one background only and work on different jewellery pieces Separately.
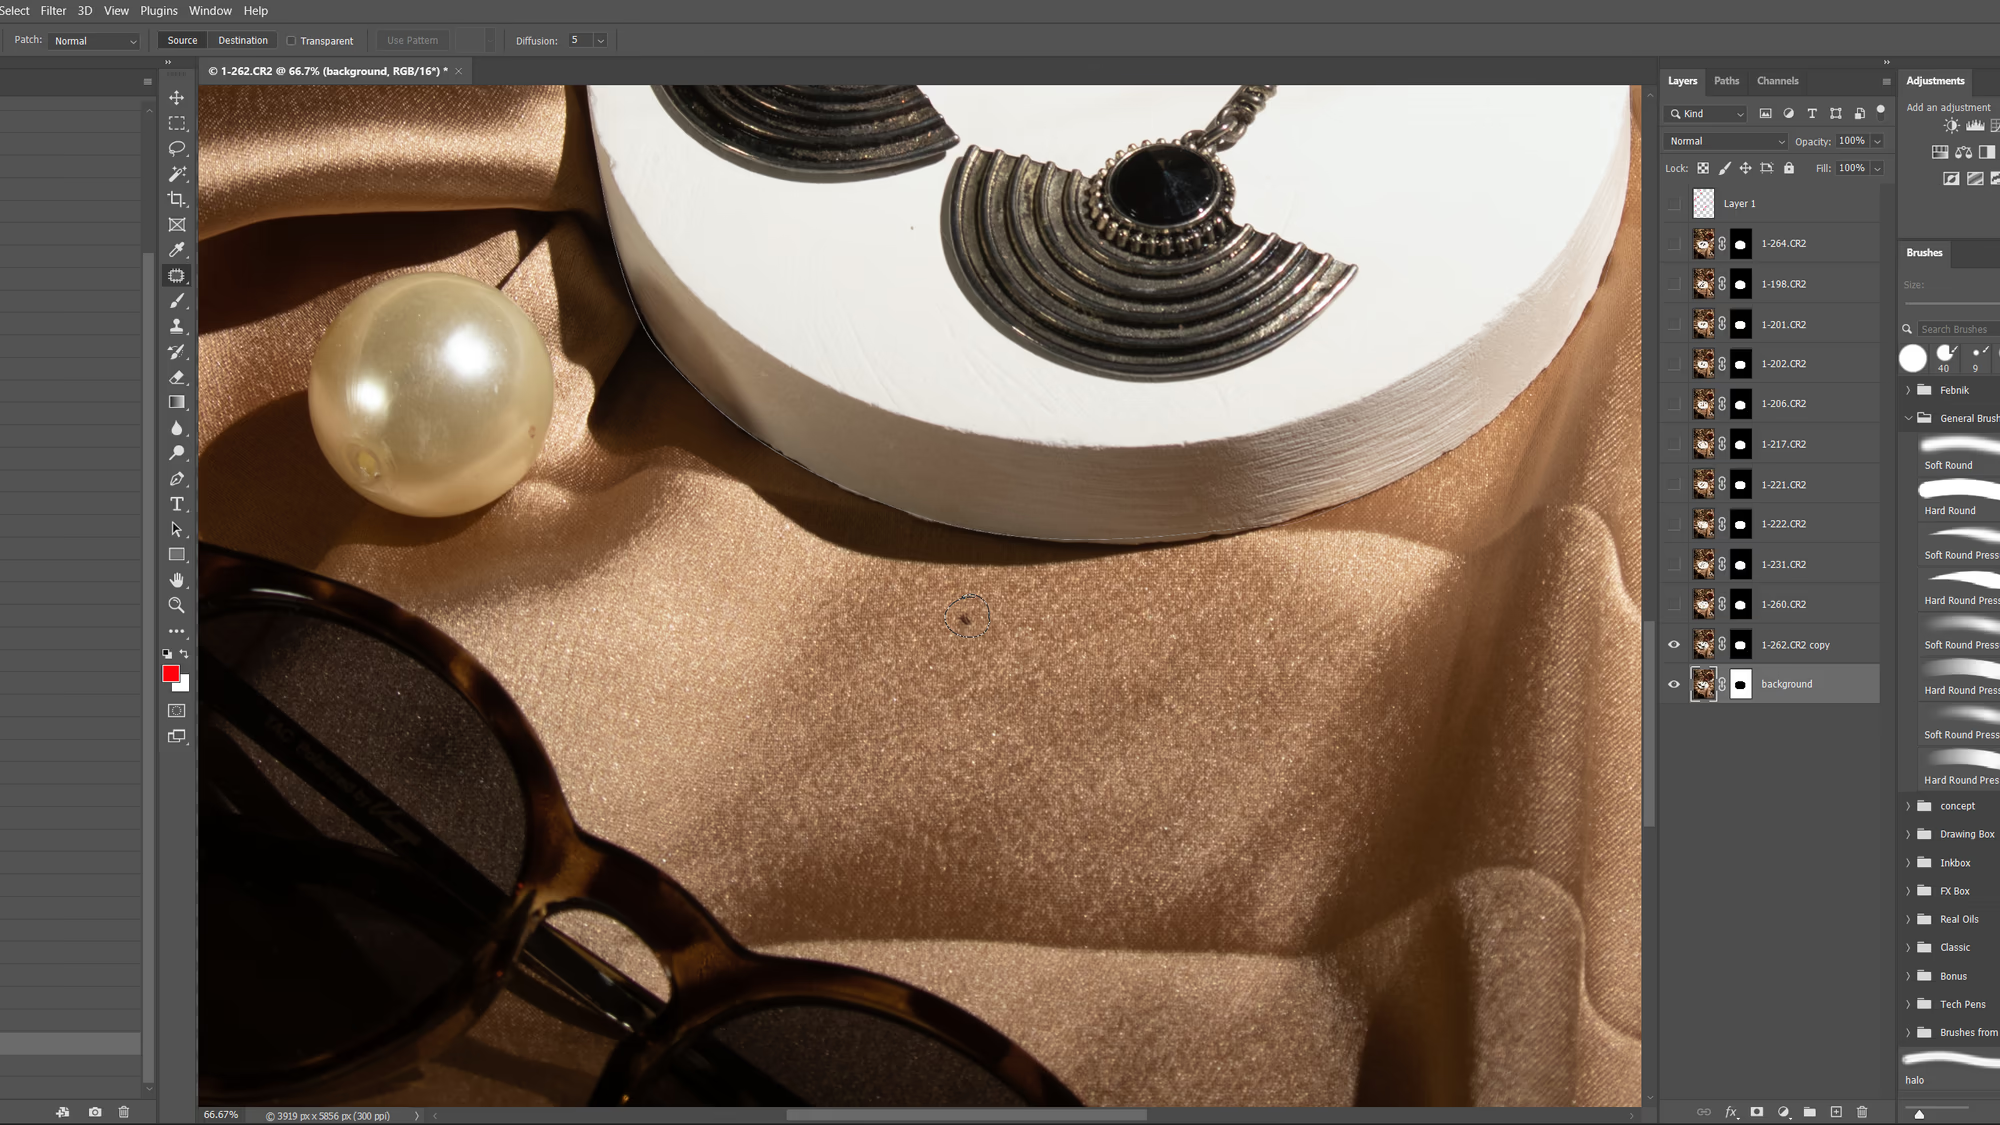
- Technique 1 : Spot Healing (Press J to Choose Spot Healing Tool)
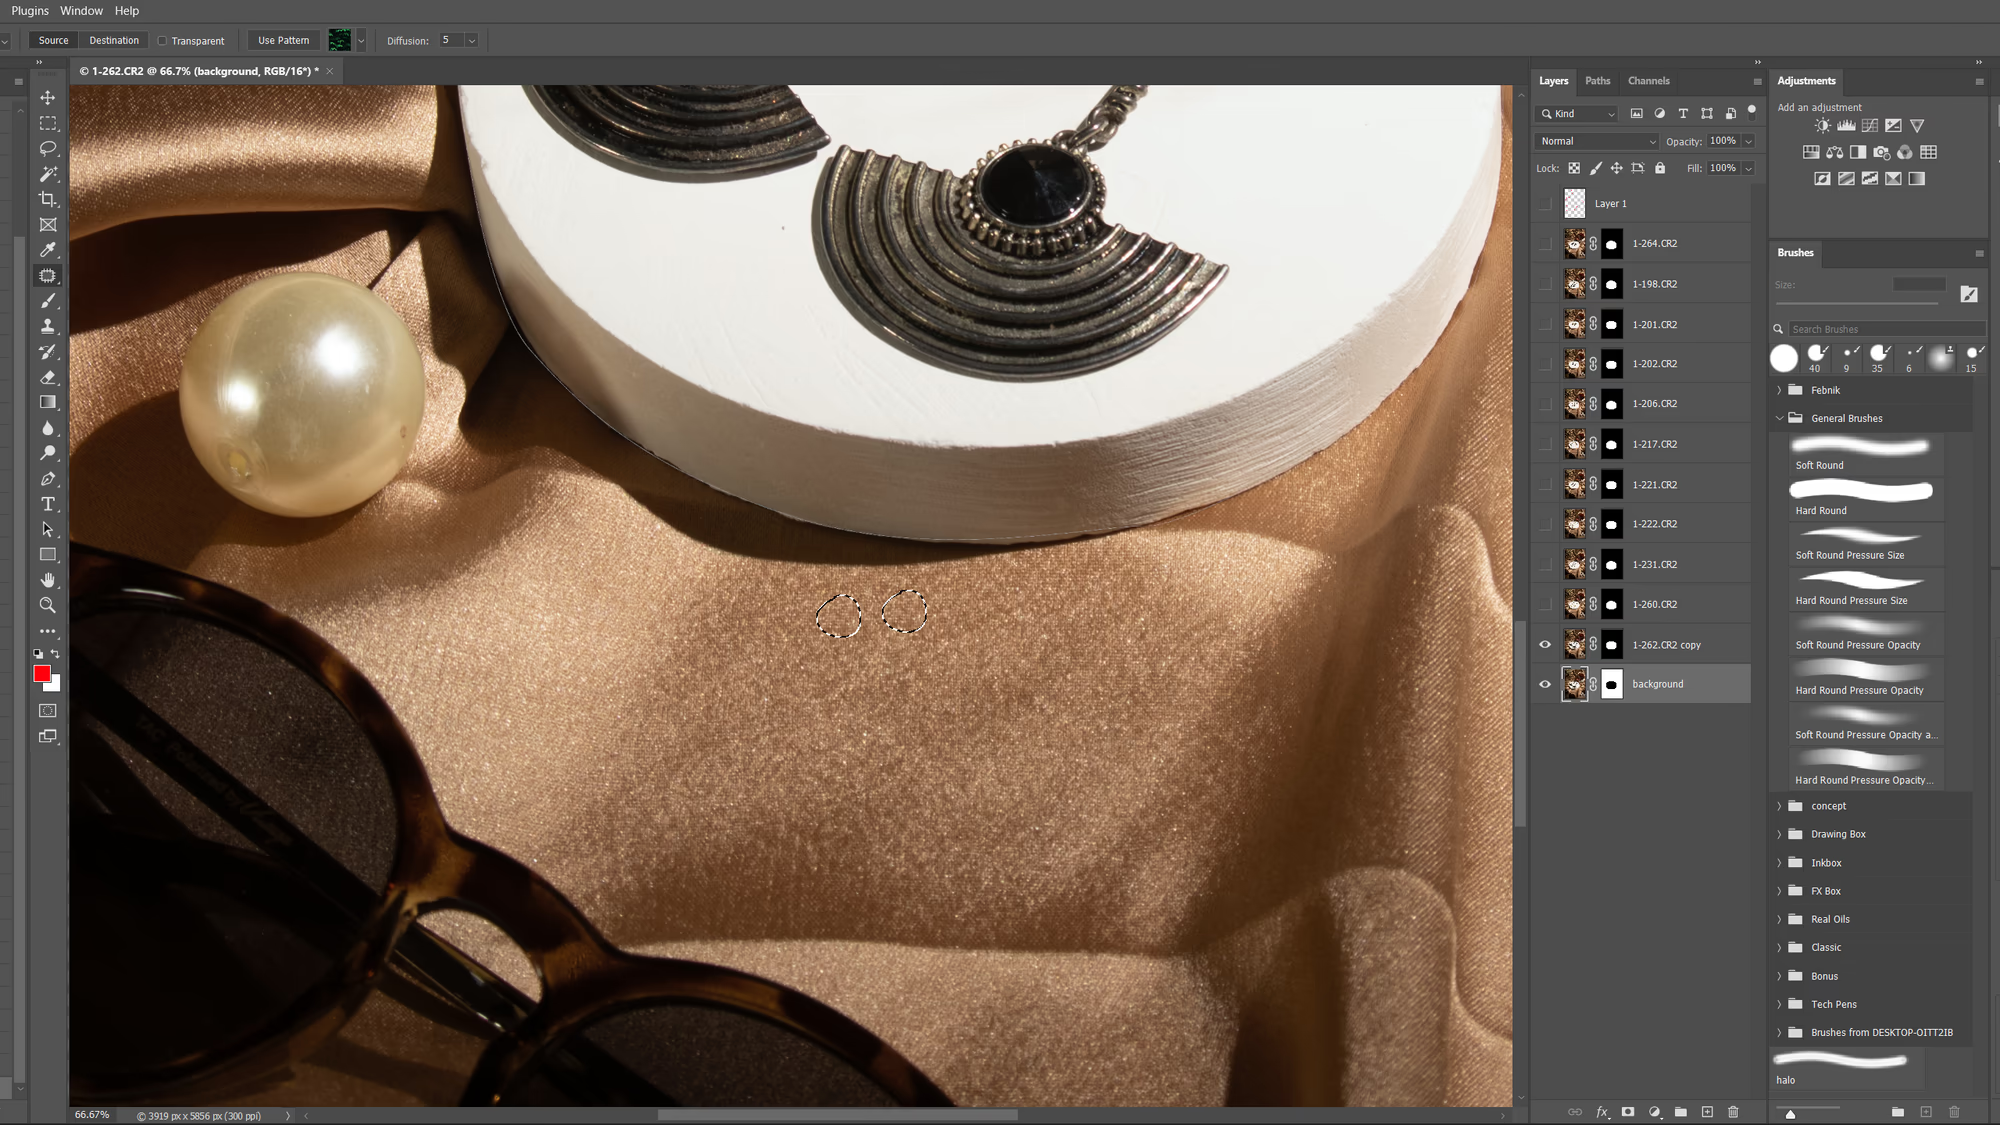
- Technique 2 : The Patch Tool (Press Shift + J to Choose )
- Technique 3 : Mixed Brush (Press Shift + B to Choose)
I use this tool to remove small circular objects in the image. It can be any issue that is like a spot on the image. Read Article on Using Spot Healing.
Patch tool is quite powerful. With "Content-Aware Mode" on this tool, it becomes an excellent tool to edit things out quick. Here I used it to remove small flowers, which can be distracting. Read Article on Using Patch Tool.
Painting with a mixed brush with low opacity and precise control is a convenient technique to remove irregularities and colour variation on the surface to give a smooth, finished look. Read Article on Using Mixer BrushTool.
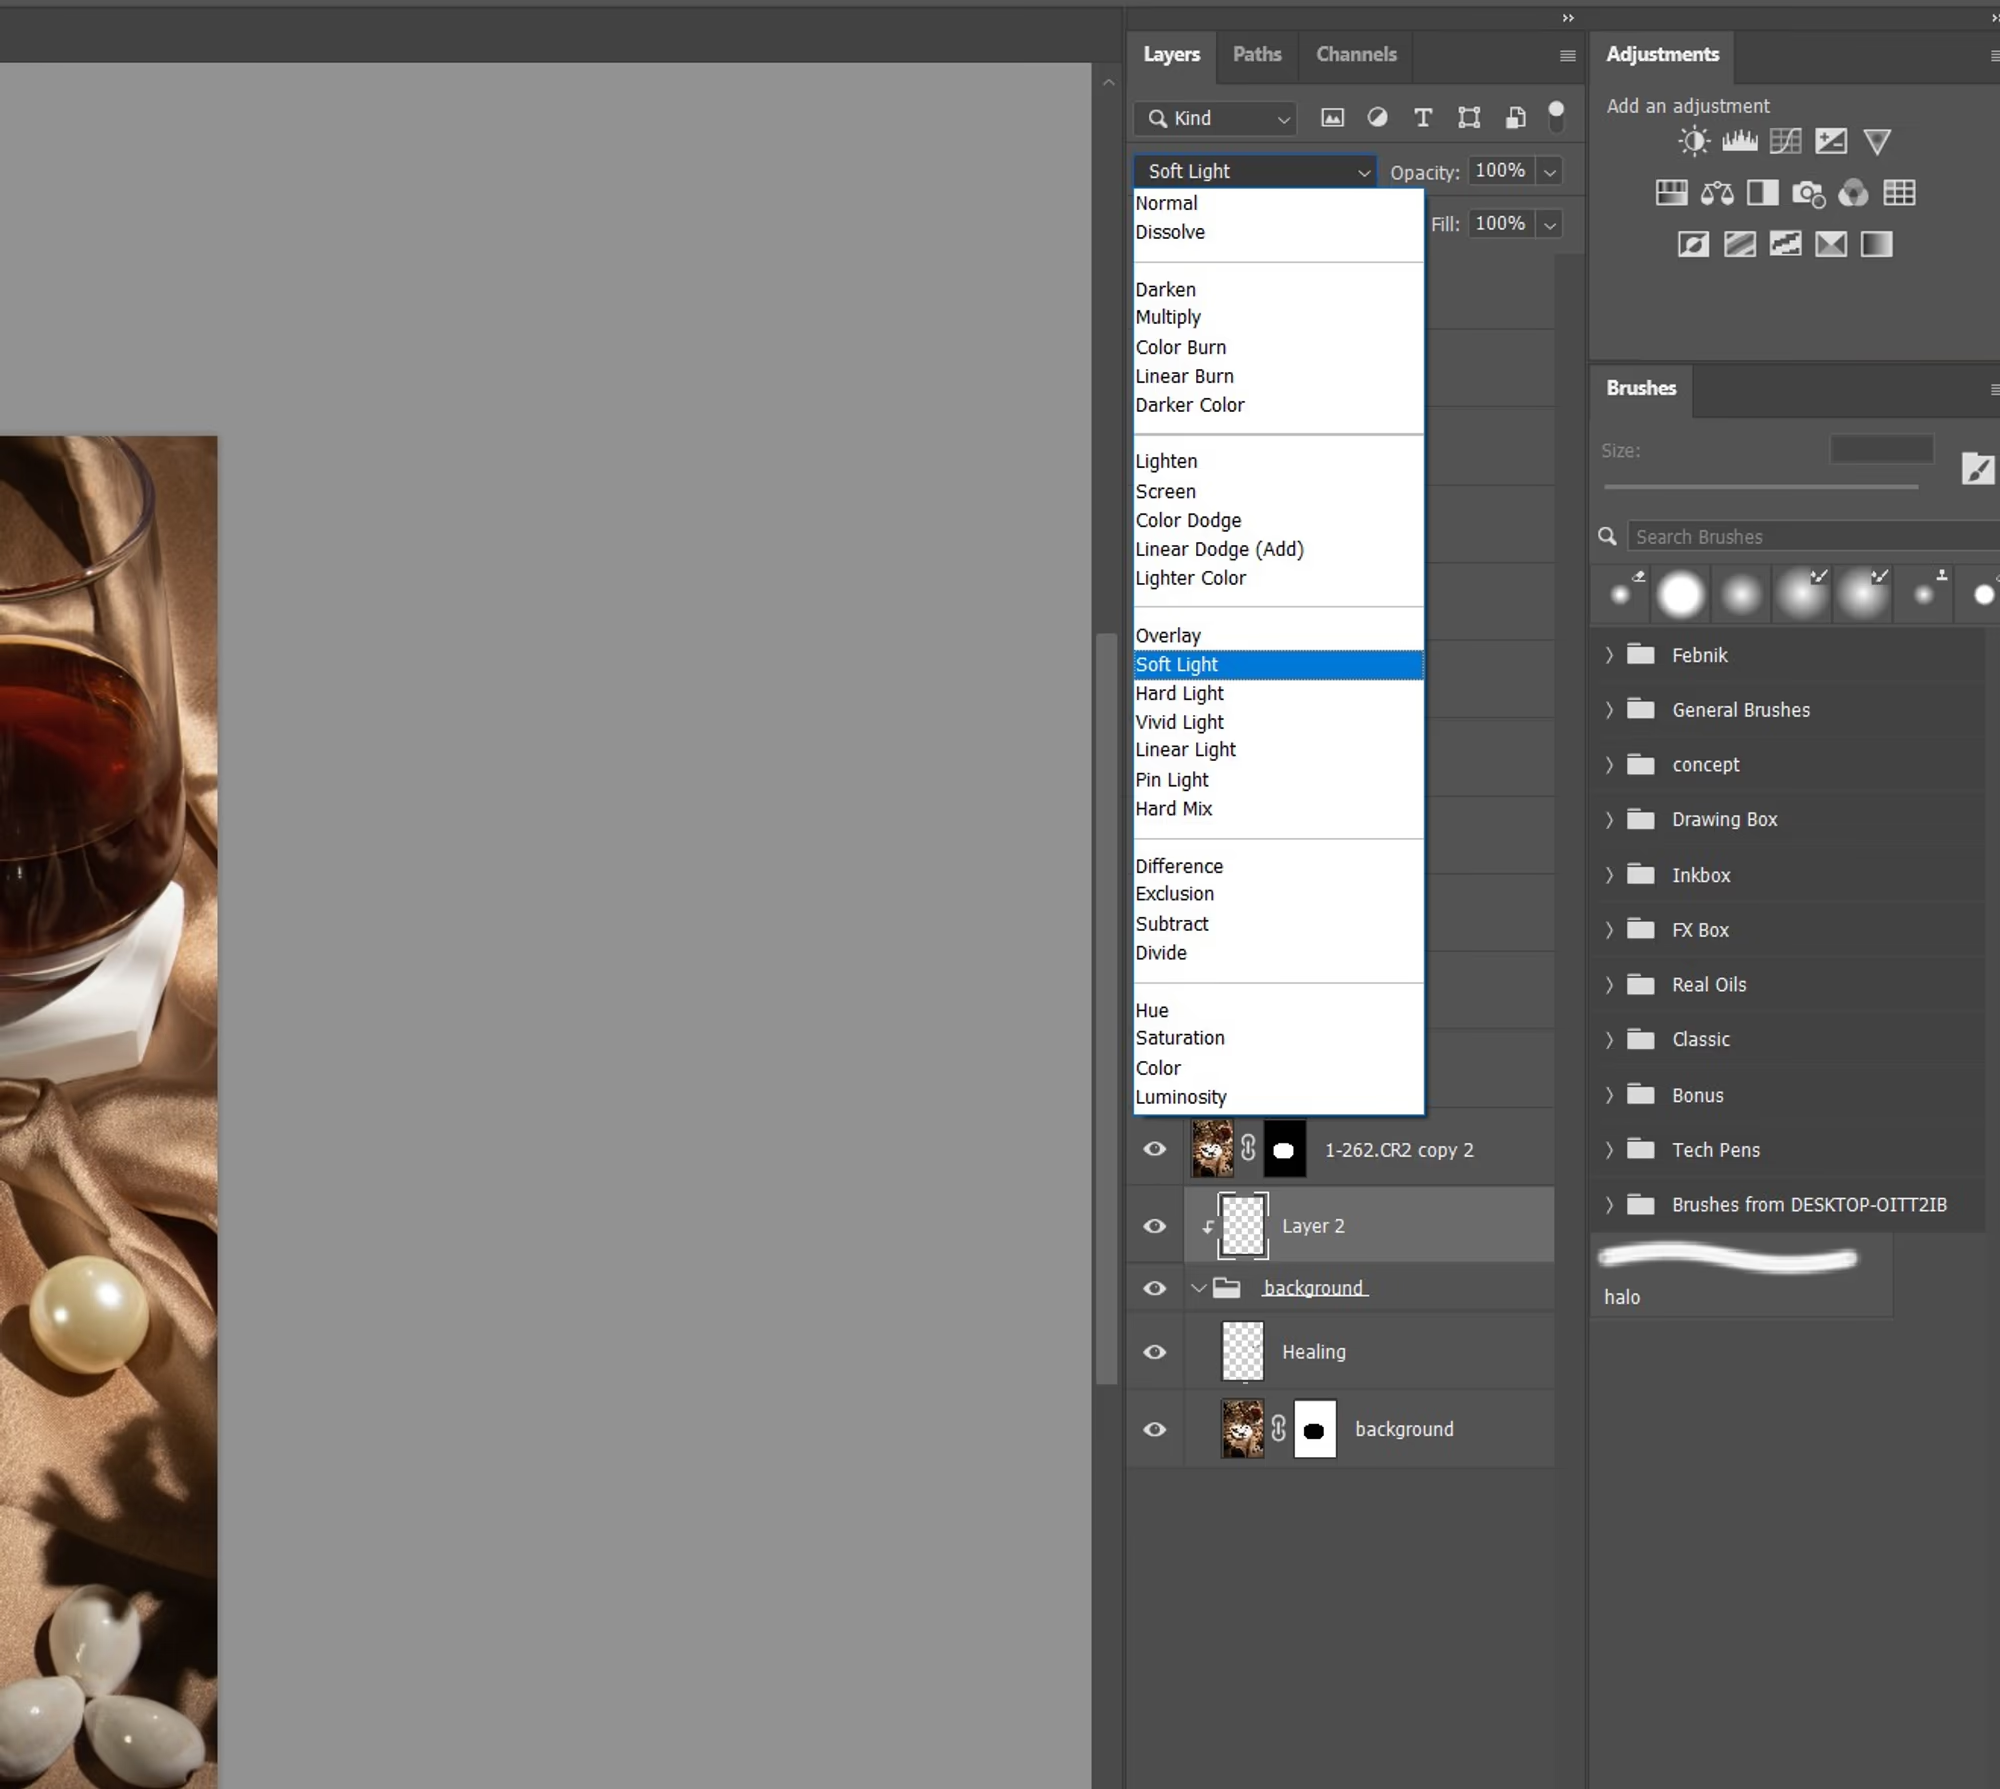
Using a Simple Gradient Adjustment Layer, try to balance your Highlights midtones and Shadows of the image as a whole and try to bring the focus of the eyes to the subject. Consider this step as the cherry on top for your clicked photograph.
Here, I used a Simple gradient adjustment layer with a white gradient with soft light blend mode to adjust the light and focus of attention. And with this, we call it the end of the session.
From Photography to Post Processing, jewellery can be a tricky subject. This face of uncertainty is only a way to experiment and create something unique in the process for us at Febnik. Through the mentioned tutorial, you move a step closer in that direction.
Remember, mastery only comes with time. Keep up the practice.